
INSULATION / MY WARM HOME
External wall insulation.
A continuous thermal wrap — planned around the whole building, not simply the insulation board.
01
Understand
How EWI reduces heat loss and changes the wall.
02
Detail
Openings, services, moisture and thermal bridges.
03
Materials
Compare insulation and finishing systems.
04
Check
Assessment, installation and building safety.
THE SHORT VERSION
EWI is a complete system, not just boards on a wall.
External wall insulation (EWI) adds an insulating layer to the outside of a property to slow heat loss, improve comfort and reduce energy needed to keep rooms warm.
Insulation, fixings, reinforcement, weatherproof finish, openings, ventilation, services and moisture management have to form one coordinated design.
The wall type, condition, exposure and occupancy matter. A solution that suits one home may not suit another.
01 / UNDERSTAND THE SYSTEM
Four things that determine a successful EWI project.
A continuous layer can help prevent heat escaping through poorly insulated external walls, particularly where the building has several exposed elevations.
01
Wrap the building
The insulation layer should continue across the outside of suitable external walls to reduce heat loss.
02
Detail the junctions
Windows, doors, eaves, corners, plinths and services need a carefully planned interface.
03
Manage moisture
Consider the existing wall, exposure, damp, ventilation and the moisture behaviour of the proposed system.
04
Design first
The chosen insulation and finish must suit the building, rather than being selected solely by thermal value.
BEFORE WORK STARTS
Health and safety comes first.
An installation affects the whole outside of the building. Assess existing services, wildlife, materials, access and safety before work begins.
Electrical services
High-amperage cables and external electrical supplies may require specialist consideration.
Nesting and wildlife
Bats, bees, wasps and other protected or hazardous nesting situations may need specialist advice.
Vermin and hazardous materials
Address rats, mice and squirrels before creating inaccessible voids. Arrange competent assessment of suspected asbestos in flues, drainage, roofing or other elements.
Gas, flues and combustion
Do not compromise flues or combustion ventilation. Changes need checking by appropriately competent people.
WHOLE-HOUSE THINKING
Insulation and ventilation belong together.
Insulation and airtightness alter the way heat and air move through the property. The ventilation strategy therefore needs to be reviewed alongside the proposed EWI.
Background and transfer air
Check whether suitable background ventilation is provided. Where needed, correctly sized trickle or wall vents and internal transfer routes such as door undercuts help air move between rooms.
Extract ventilation
Kitchens, bathrooms, WCs and utility rooms require suitable extract. Existing fans should be checked against the relevant design or measured extract duty.
An early design question
Do not improve the walls and forget the air. Moisture control involves insulation continuity, heating, background ventilation and extract working together.
02 / DETAILING MATTERS
Thermal bridges can undo otherwise good insulation.
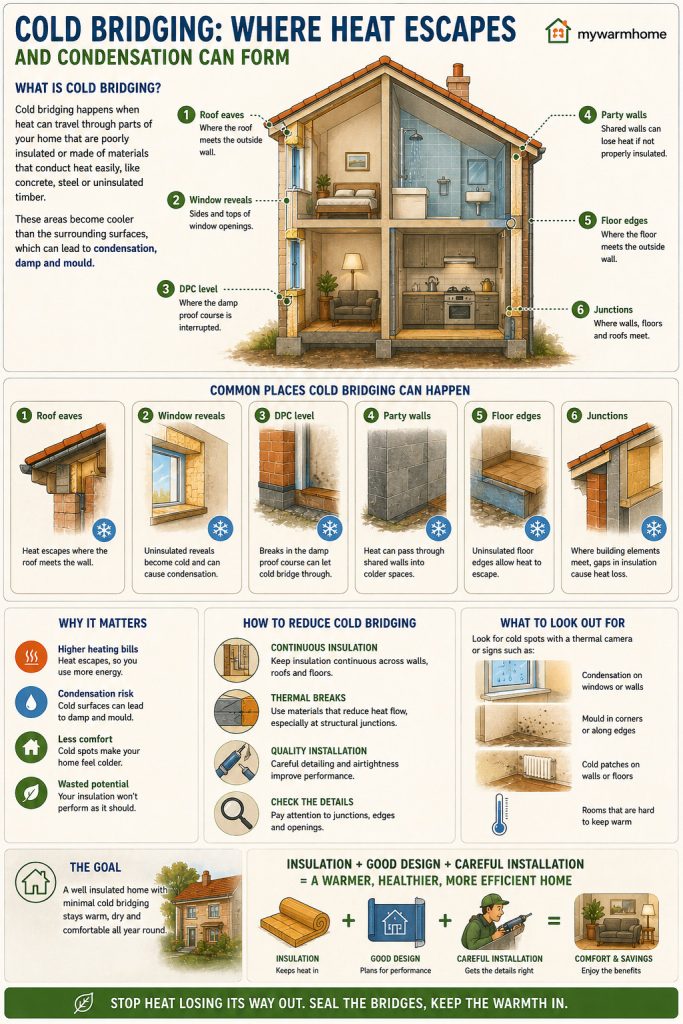
Thermal bridges are places where heat can bypass the insulating layer. EWI offers an opportunity to create continuity, provided the awkward junctions are designed.
01
Reveals and openings
Window and door reveals, sills and frames need suitable insulation, weathering and sealing details.
02
Roof and eaves
The new wall thickness must meet roof edges, verge and eaves without leaving exposed gaps.
03
Plinth and ground
The DPC, splash zone and relationship to the ground require the correct product and detailing.
04
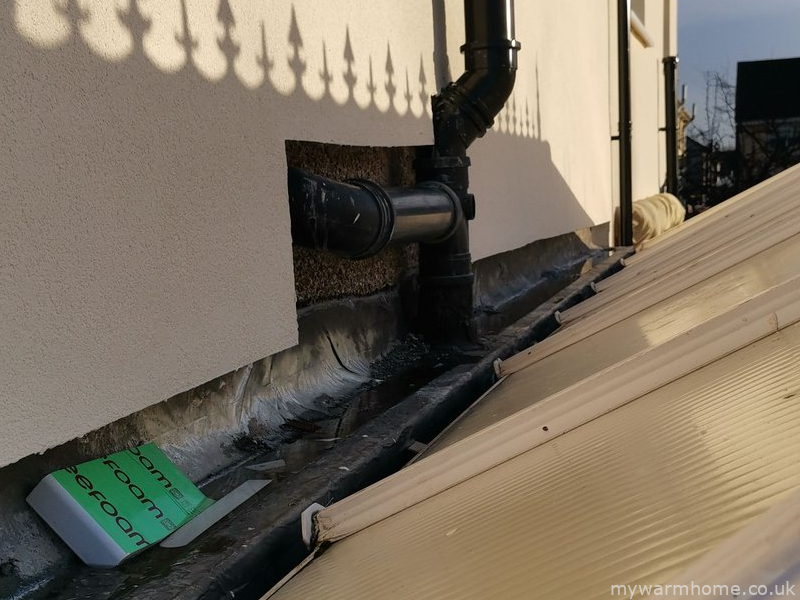
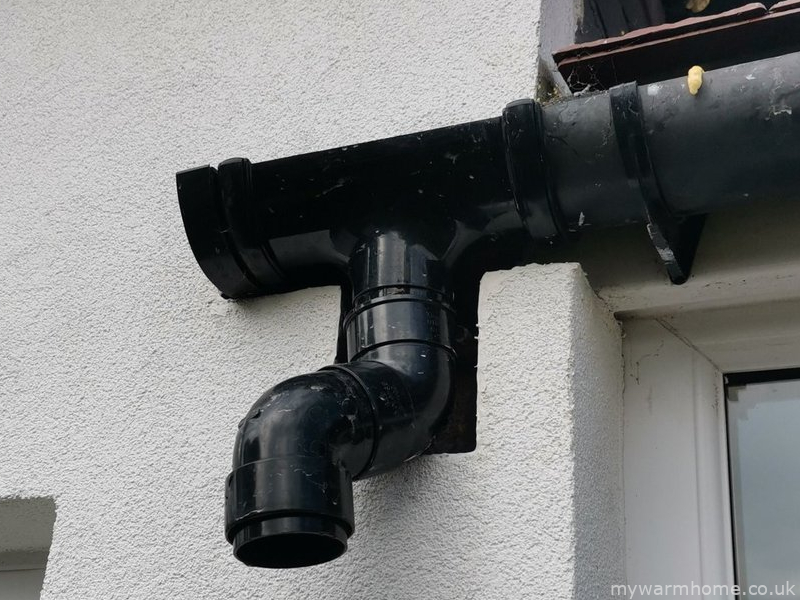
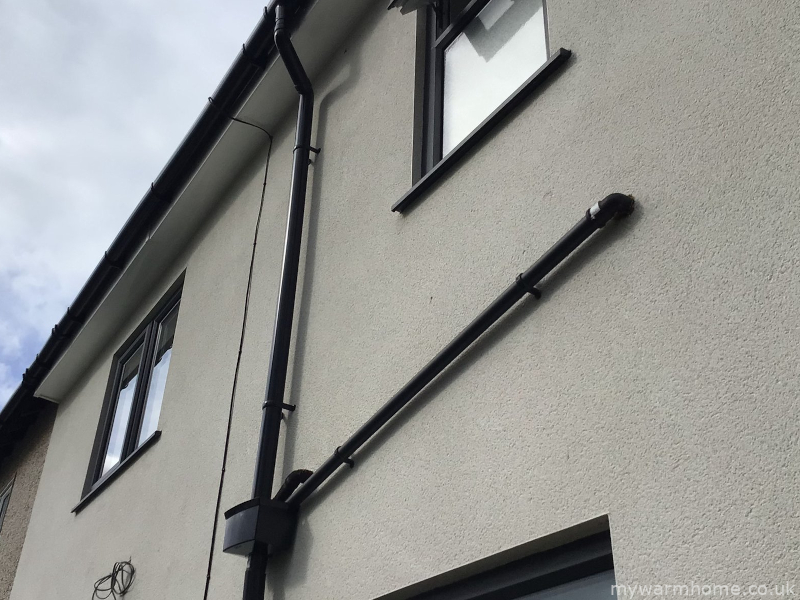
Fixings and services
Fixtures and pipework need compatible extensions, thermal-break fixings or planned relocation.
THE INSTALLATION
How an EWI system is put together.
EWI is a set of compatible components installed to a complete specification. Product substitutions and improvised details need proper design approval.
01 / Assess and prepare
Examine the wall or substrate and complete the required repairs and preparation.
02 / Fix insulation
Install the specified insulation boards using the system-approved adhesive and mechanical fixings.
03 / Reinforce
Apply the designed base coat and reinforcement mesh.
04 / Detail junctions
Finish openings, edges, corners, penetrations and roof or ground junctions correctly.
05 / Protect the system
Apply compatible render, coating or cladding suitable for the property and exposure.
DESIGN BEFORE PRODUCT
Assess the building first. Select the system second.
A small modern flat and an older solid-wall family home will not respond to insulation in the same way. Construction, condition, exposure, moisture and how the property is used all affect the design.
A competent assessment should cover these checks before a specification is finalised:
- Age and property type: when was it built, and how has it been altered?
- Wall construction: solid, cavity, timber frame or other system-built form?
- Existing insulation: is insulation already within or behind the wall?
- Exposure and condition: wind-driven rain, defects and any existing damp?
- Ventilation: are background and extract arrangements appropriate?
- Openings: window, door, sill and reveal interfaces?
- Ground junction: DPC, plinth, splash zone and ground levels?
- Roof junction: sufficient eaves and verge projection for the thicker wall?
- Drainage and services: gutters, downpipes, flues, vents, electrical and telecom equipment?
- Fixtures: alarm boxes, cameras, aerials, canopies and handrails?
- Boundaries: new wall thickness near neighbours or narrow access?
- Permissions: planning and conservation constraints where applicable?
- Site arrangements: scaffolding, access, safe storage and weather protection?
03 / INSULATION MATERIALS
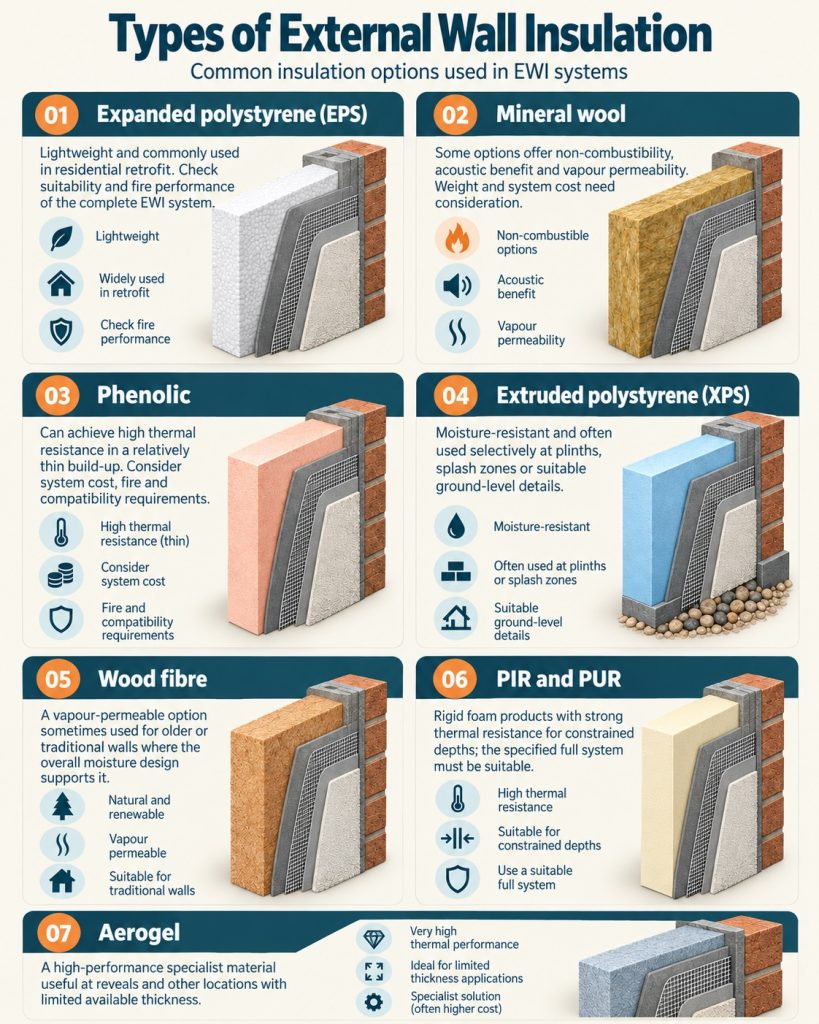
Which type of external wall insulation board?
Materials offer different combinations of thermal performance, thickness, weight, vapour permeability, fire performance, durability and cost. Every selection must be compatible with the approved EWI build-up.
01
Expanded polystyrene (EPS)
Lightweight and commonly used in residential retrofit. Check suitability and fire performance of the complete EWI system.
02
Mineral wool
Some options offer non-combustibility, acoustic benefit and vapour permeability. Weight and system cost need consideration.
03
Phenolic
Can achieve high thermal resistance in a relatively thin build-up. Consider system cost, fire and compatibility requirements.
04
Extruded polystyrene (XPS)
Moisture-resistant and often used selectively at plinths, splash zones or suitable ground-level details.
05
Wood fibre
A vapour-permeable option sometimes used for older or traditional walls where the overall moisture design supports it.
06
PIR and PUR
Rigid foam products with strong thermal resistance for constrained depths; the specified full system must be suitable.
07
Aerogel
A high-performance specialist material useful at reveals and other locations with limited available thickness.
CHOOSE THE SYSTEM
Do not choose by the board alone.
A suitable material badly detailed can perform worse than a correctly selected and coordinated complete system.
Thermal target and available depth
What U-value is needed, and how much additional thickness can openings, roof edges and boundaries accommodate?
Fire and substrate
What fire performance is required, and what is the existing insulation being fixed to?
Moisture and exposure
How does the wall manage water vapour and rain, and how severe is the local exposure?
Detailing and finish
Can windows, doors, eaves, plinths and services be integrated with the proposed render or cladding?
THE DETAILS PEOPLE NOTICE AFTERWARDS
What happens to everything fixed to the wall?
The additional wall thickness affects everyday fittings. Their relocation, extension or secure refixing should be priced and drawn into the design, not left until the insulation is already installed.
- Rainwater pipes and gutters
- Waste pipes and outside taps
- Boiler flues and external vents
- Gas pipework
- Electrical cables and boxes
- Telephone and broadband cables
- Satellite dishes and aerials
- Lights and doorbells
- Alarm boxes and CCTV cameras
- Canopies and porches
- Handrails and mounted fittings
- Drainage and service penetrations
- Window and door sills
- Roof, eaves and verge junctions
- Boundary and access interfaces
- Suitable fixings and patress supports
COMBUSTION SAFETY
Open-flued appliances need particular care.
Insulation and ventilation cannot be specified in isolation from existing combustion equipment.
Air supply
Fabric upgrades and changed ventilation can affect the air available to combustion appliances.
Extraction and pressure
Extract fans may reduce room pressure and can affect operation of an open-flued appliance, even where located in another room.
Competent assessment
Arrange the appropriate appliance assessment and any required spillage testing with suitably competent qualified people.
Do not improvise flue alterations
Flues, terminals and air openings must be kept safe and adapted only by appropriate specialists.
EXISTING APPLIANCES
Know the appliances before changing the building.
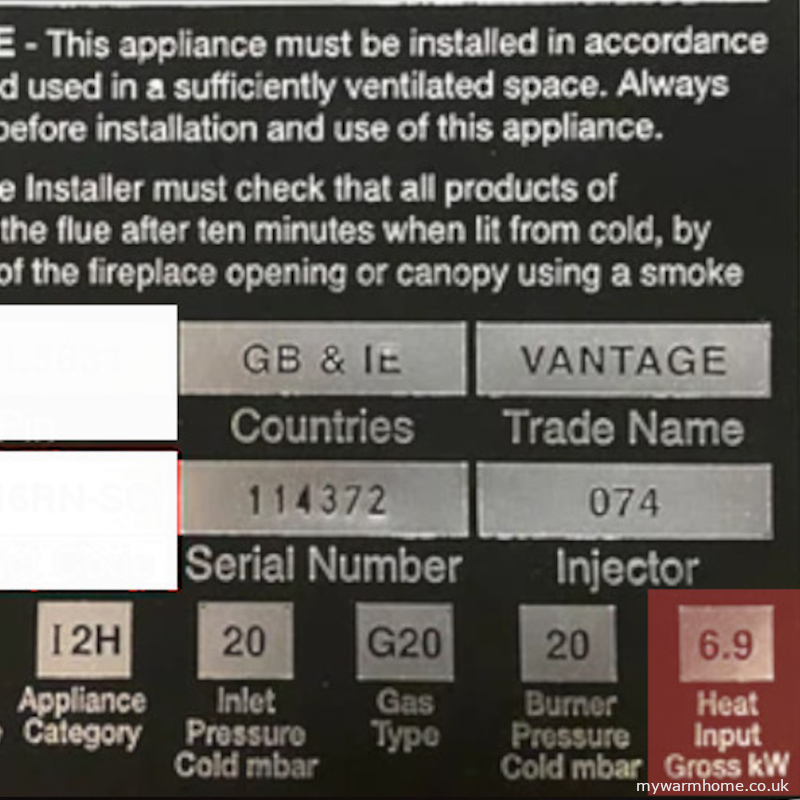
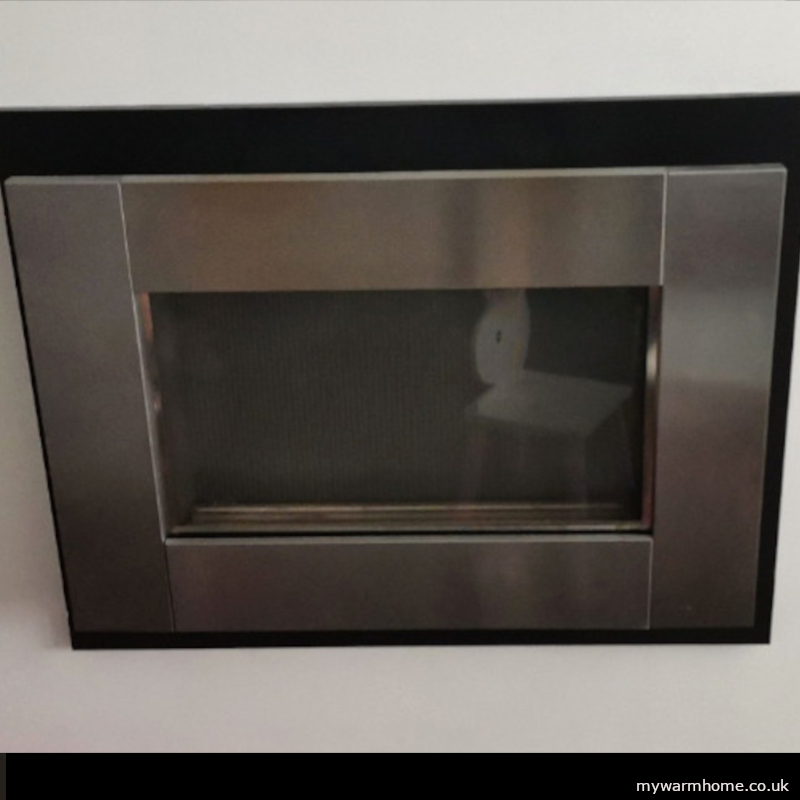
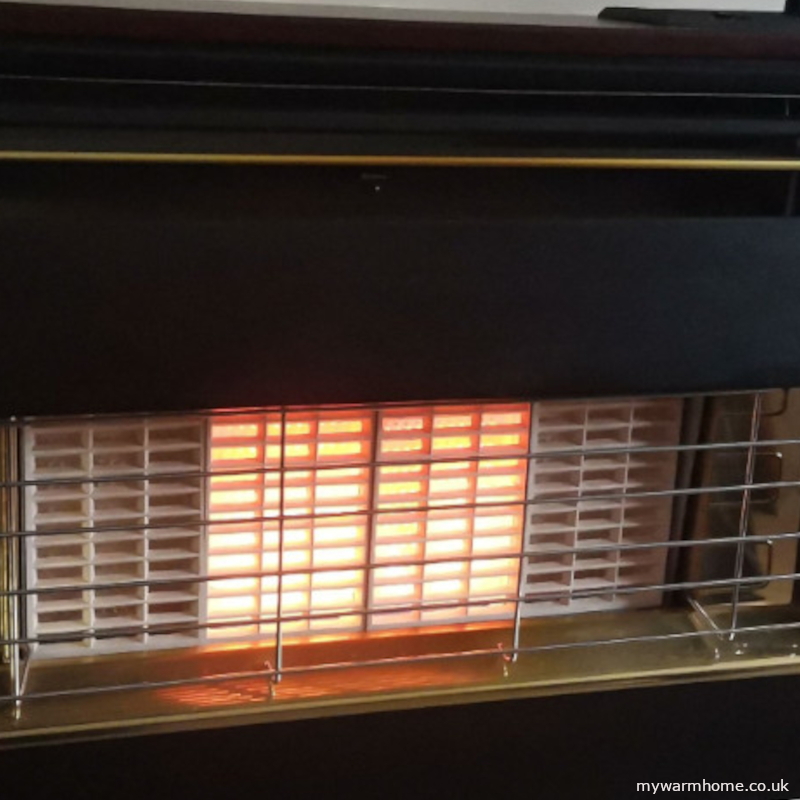
Part J highlights the potential effect of extract fans on open-flued appliances. For relevant gas work, seek appropriately qualified Gas Safe registered advice.
1
whole building — not a collection of unrelated products.
MY WARM HOME VIEW
Good EWI is about the whole building.
The aim is to create a continuous, durable and appropriate insulating layer while protecting the building from moisture, maintaining suitable ventilation and integrating every opening, junction and service safely.
Understand the property. Design the details. Then choose the system.
STANDARDS & GUIDANCE
Check the documents applicable to the project.
Relevant requirements can depend on the UK nation, building type, project scope and timing. Check current official documents before work begins.
Retrofit standards
Ventilation and energy
Combustion appliances
KEEP EXPLORING
Plan the details before installing the insulation.
Explore thermal values, ventilation and how fabric improvements fit into a whole-home retrofit plan.