
INSULATION / MY WARM HOME
A guide to loft insulation.
Keep the warmth below, protect the roof above, and make every detail count.
01
Understand
Heat loss, cold lofts and warm lofts.
02
Prepare
Safety, airflow, access and services.
03
Choose
Suitable insulation and roof detailing.
04
Install & check
Hatches, bridging and final inspection.
THE SHORT VERSION
Loft insulation is more than laying extra rolls.
Insulation at ceiling level helps slow heat escaping into an unheated roof space. A continuous, correctly installed layer can improve warmth and reduce the energy needed to heat the home.
The material and thickness matter, but so do ventilation, electrical safety, pipes, recessed lights, loft hatches, access and the insulation around joists.
The goal is a continuous thermal layer that does not create new moisture, fire or maintenance problems. The right approach depends on whether you are insulating the loft floor or the roof slope.
01 / START WITH THE ROOF SPACE
Cold loft or warm loft?
There are two fundamentally different locations for the insulation. They are not interchangeable: the choice affects the temperature, ventilation and moisture behaviour of the roof space.
01
Cold loft
Insulation lies at ceiling level, between and across ceiling joists. The heated accommodation is below; the roof void remains outside the thermal envelope.
02
Warm loft
Insulation follows the roof slope at rafter level. The loft is brought within, or closer to, the insulated envelope and the roof construction needs an appropriate moisture-control design.
03
Ventilation
In a cold loft, retain the designed roof-void ventilation at eaves, soffits or other roof vents. Do not block it with insulation.
04
Use of space
Storage, services and conversion plans affect the insulation position, access routes, floor loading and materials selected.
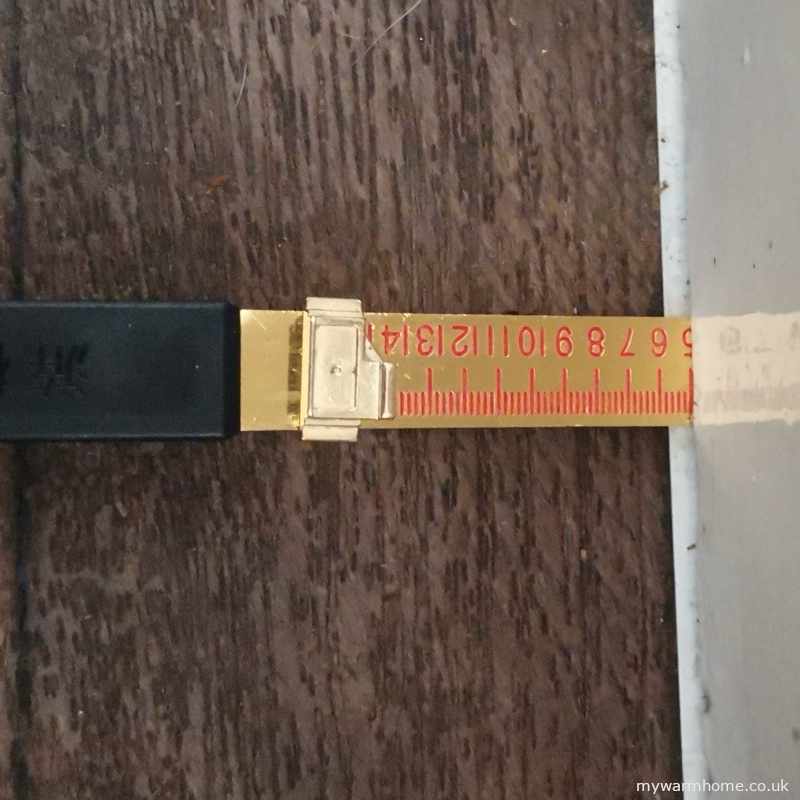
The required thermal performance is expressed as a U-value and depends on the complete construction, product and installation detail. Use the applicable Building Regulations and manufacturer data rather than assuming one thickness suits every roof.
02 / BEFORE WORK STARTS
Inspect the loft before insulation goes in.
A pre-installation survey should establish what is already present, what work is proposed and which specialist trades may be needed.
Electrical cables & downlights
Identify cables serving showers, cookers and other high-current equipment. Thermal insulation can affect cable current-carrying capacity. Recessed lighting needs suitable fire and insulation-clearance detailing.
Animals, insects & suspected asbestos
Look for bats, bees, wasps, vermin, contaminated material and suspect asbestos-containing components. Do not disturb unknown material; seek specialist advice.
Flues & combustion appliances
Keep required clearances and access. Do not move, wrap or alter a flue without an appropriately competent professional.
Water, roof defects & damp
Check for leaks, musty smells, damaged roof coverings, water tanks and pipework. Correct underlying problems before covering the area.
02 / KEEP AIR MOVING
Ventilation protects both the home and the roof.
Loft insulation and dwelling ventilation are related, but different. The roof void must retain the ventilation appropriate to its design; habitable rooms need their own planned background and extract ventilation.
01
Keep the eaves clear
Do not pack insulation into soffit or eaves ventilation routes. Use appropriate ventilation trays or detailing where required.
02
Check wet-room extraction
Bathroom, kitchen, WC and utility-room extract should be working, discharging outdoors and suitable for the property.
03
Review background air
Check window or wall ventilators and the air-transfer paths through the home, including internal door undercuts where required.
04
Seal the ceiling plane
Treat downlights, hatches and service penetrations using suitable products, while protecting required ventilation and electrical safety.
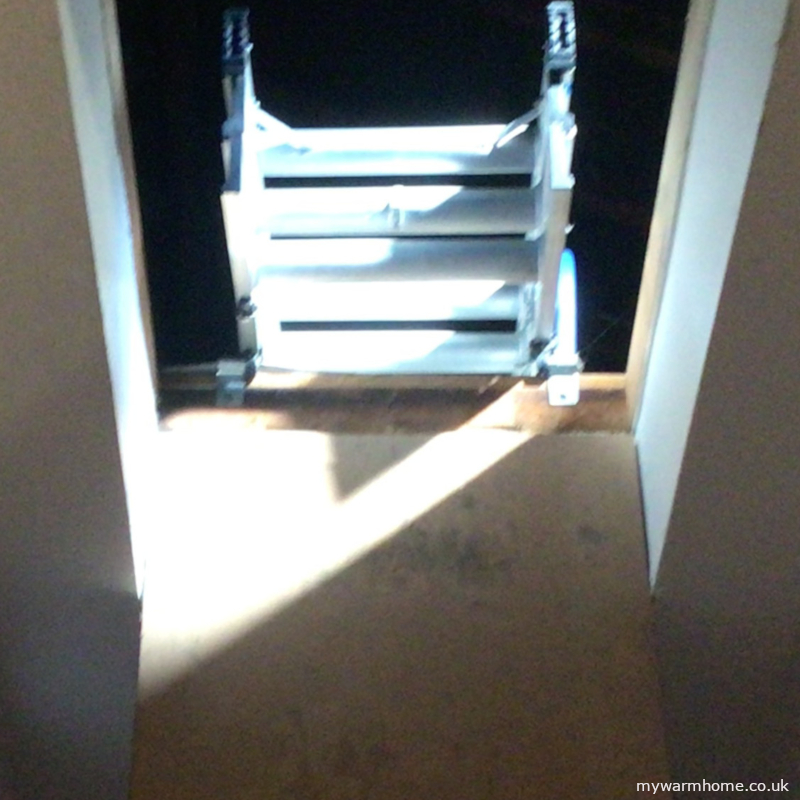
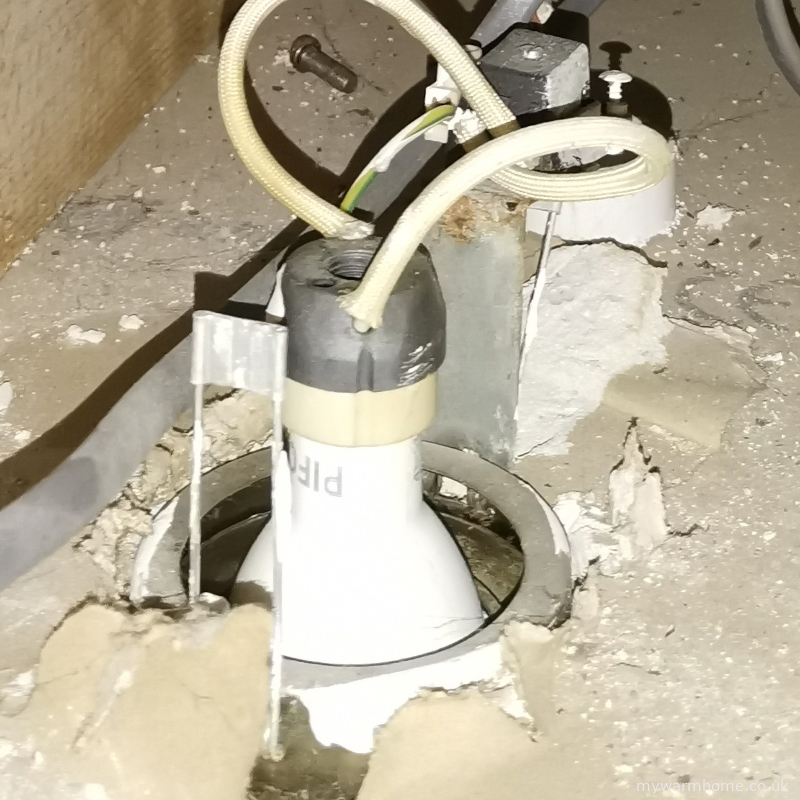
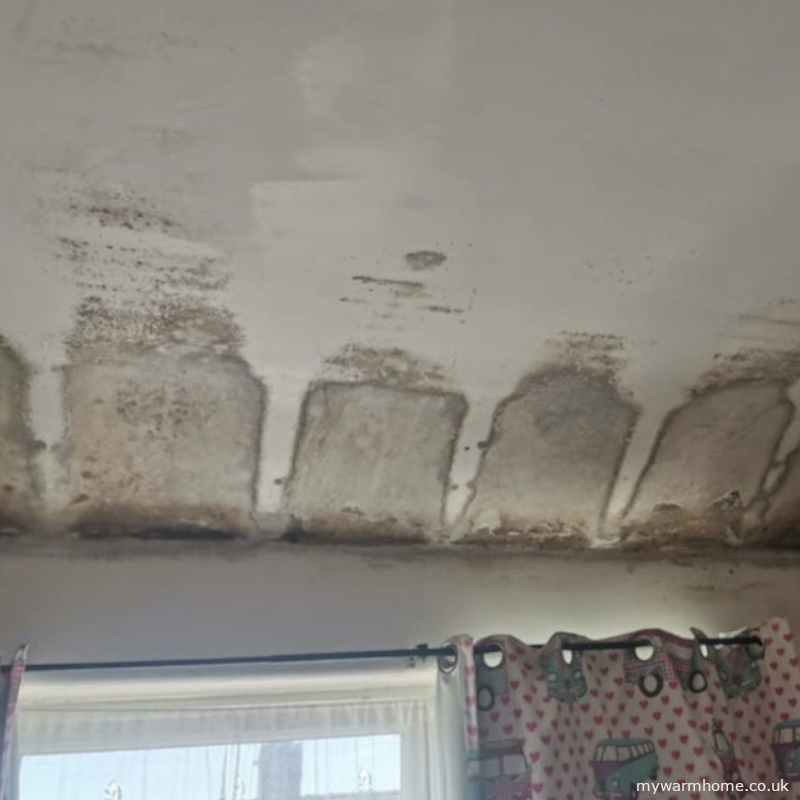
If you find persistent condensation, damp odours or wet insulation, diagnose the moisture source instead of simply adding more insulation.
02 / A PRACTICAL PRE-INSTALL CHECK
Ten details that are easy to miss.
- Loft access. Ensure safe entry, working space and a hatch large enough for the proposed materials.
- Condition of the roof. Investigate leaks, defective underlay and signs of damp.
- Existing insulation. Note thickness, condition, gaps, compression and contamination.
- Electrical services. Identify high-current cables, downlights, junctions and potential damage.
- Pipework and tanks. Protect equipment and water supplies in a colder roof void.
- Ventilation routes. Maintain soffit, eaves, felt or tile ventilation as appropriate.
- Extract ductwork. Keep ducting correctly routed, supported and discharged outdoors.
- Access walkways. Preserve routes to boilers, tanks, solar equipment and other service items.
- Fire and flue safety. Maintain suitable clearances and protection where required.
- Structure and storage. Check the intended load before adding boards, storage or raised platforms.
The person undertaking the work should be able to explain how each of these points is managed, not just quote a depth of insulation.
03 / THE MATERIALS
Different products, different practical details.
Selection depends on the location, performance target, moisture strategy, fire and acoustic requirements, budget and access. Always use the declared product performance and its installation guidance.
01
Mineral / stone wool
Fibrous insulation offers thermal and acoustic performance and is commonly used at joist level. It must be kept dry and uncompressed.
02
Glass wool
Made from glass fibres which trap air. Often supplied in rolls suitable for fitting between and across ceiling joists.
03
Sheep’s wool
A natural fibrous alternative used in roofs, walls and floors. Check product treatment, moisture guidance and declared performance.
04
PIR / phenolic boards
Rigid insulation can offer high thermal resistance for a given thickness; cutting, joints, continuity and condensation design matter.
Other products and constructions may be suitable, but comparing material names alone is insufficient: check the complete roof or ceiling build-up.
03 / RIGID BOARDS
PIR and phenolic: high performance needs accurate detailing.
PIR boards
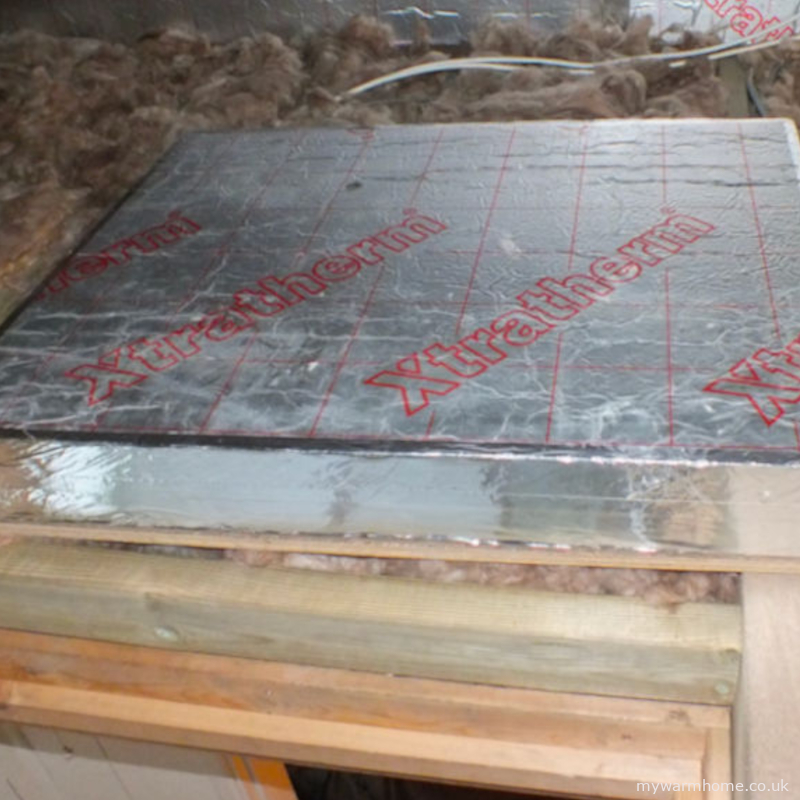
Polyisocyanurate is a rigid insulation with relatively high thermal resistance, often supplied with foil facings. Correct fit and taped or sealed junctions depend on the specified system.
Phenolic boards
Rigid phenolic insulation can achieve strong thermal performance in limited space. Compare manufacturer-declared values and the full assembly rather than relying on generic claims.
Where rigid boards fit
Boards may be used at rafter or other locations where designed for the construction. Consider fire performance, vapour control, joints, service access and manufacturer instructions.
Avoid false economies
A high nominal R-value does not compensate for poorly fitted joints, gaps or an unsuitable moisture-control design.
03 / SPRAY FOAM
Understand the product and the consequences.
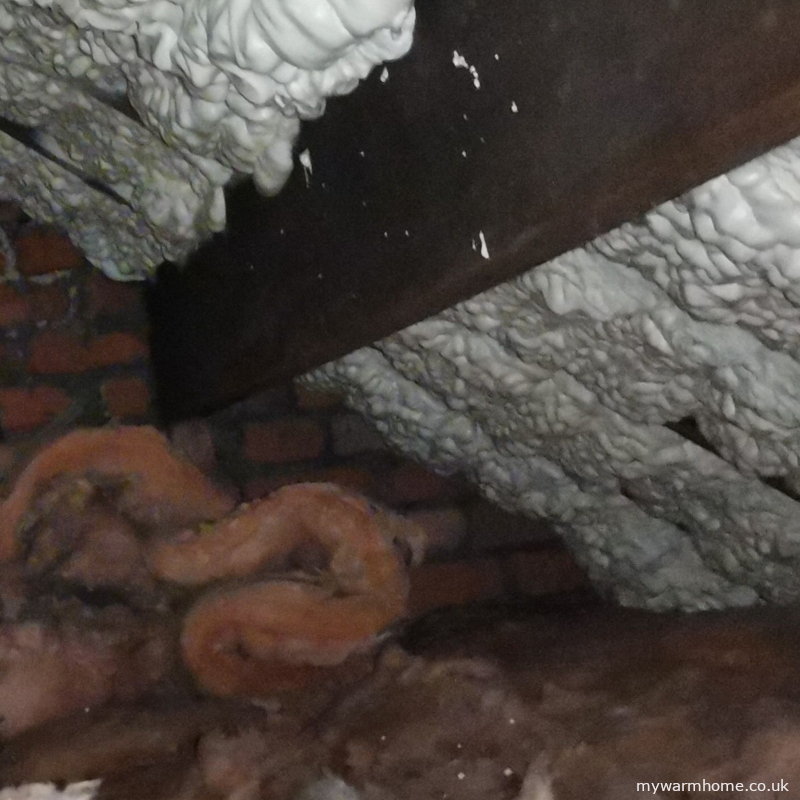
Spray foam is formed when reactive components are mixed and expand after application. Open-cell and closed-cell products differ in density, permeability and thermal characteristics. The suitability of either must be assessed for the actual roof.
01
Open-cell
Usually less dense and more vapour-permeable than closed-cell foam. The roof assembly still needs a moisture and ventilation assessment.
02
Closed-cell
Usually denser and more resistant to vapour movement. Product properties do not by themselves establish that an existing roof is suitable.
03
Installation quality
Coverage, thickness, junctions, roof condition and ventilation details are essential. Hidden failures may be difficult to inspect later.
04
Future implications
Before choosing foam, discuss inspections, roof repairs, removal and any lender or insurer requirements affecting the property.
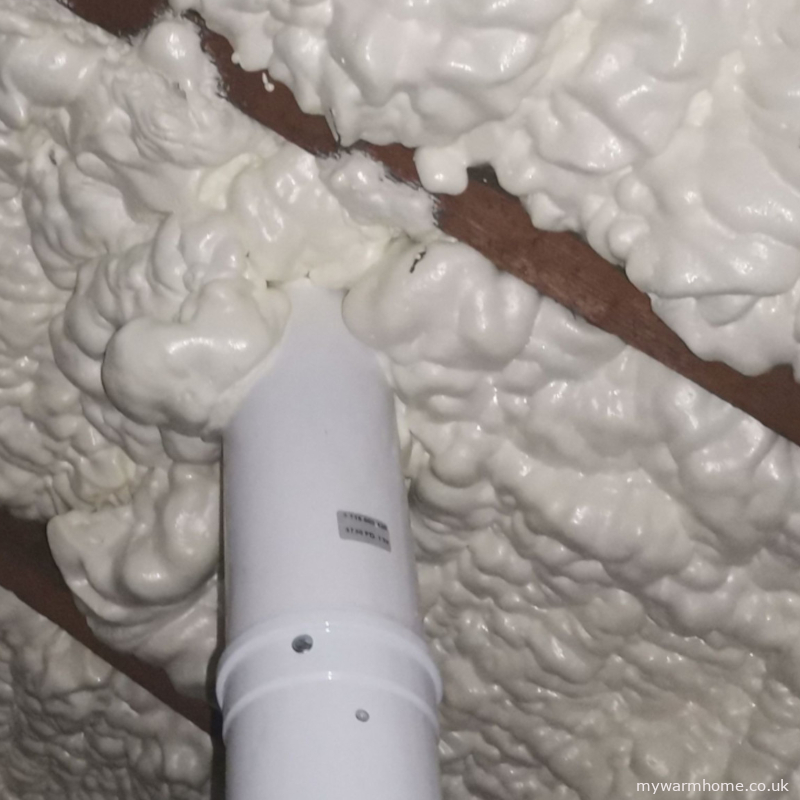
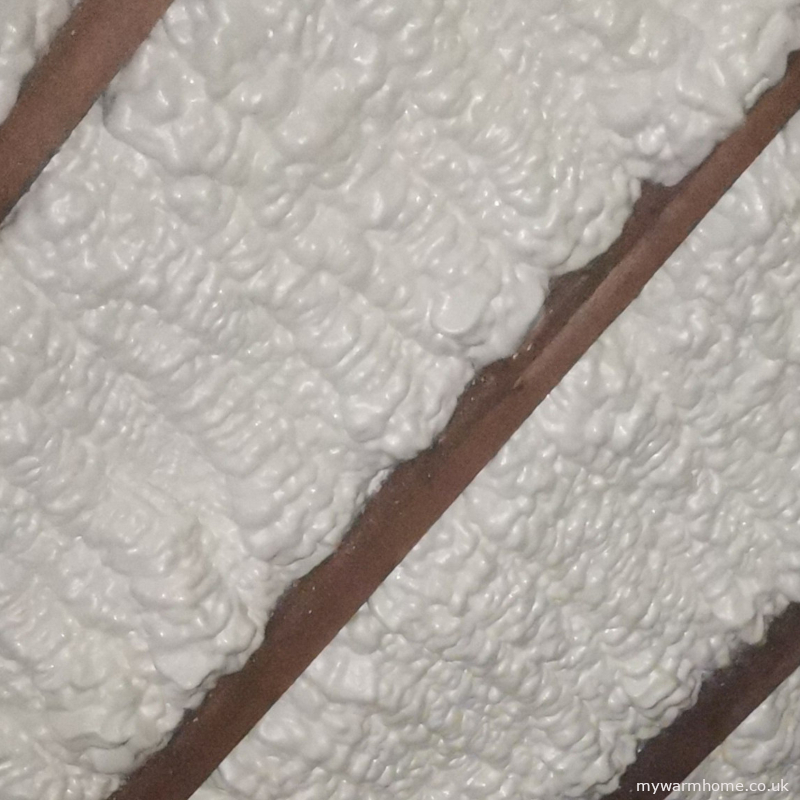
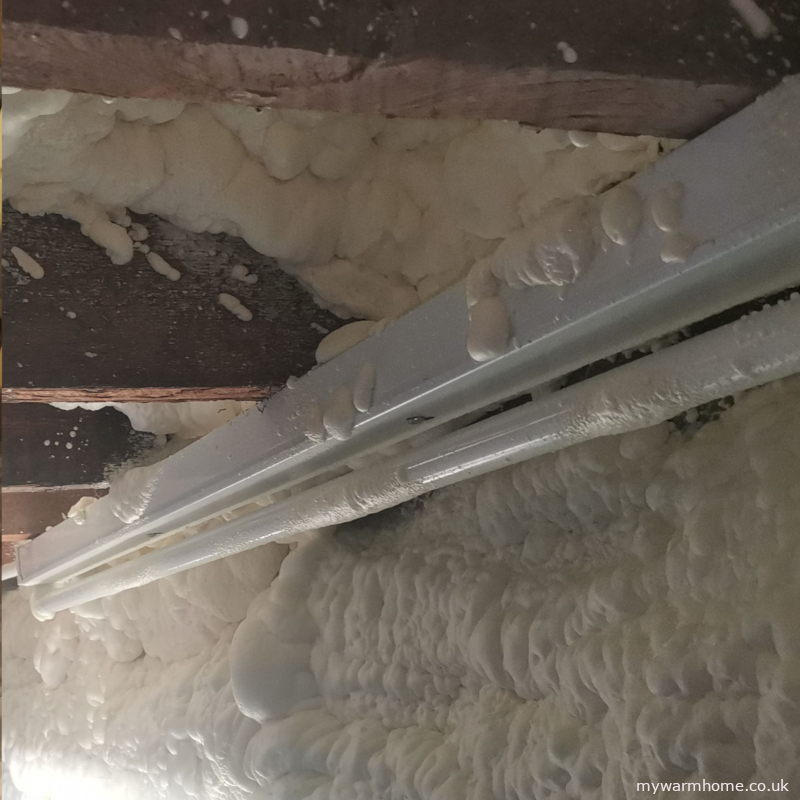
The source article links to the Energy Saving Trust’s spray foam information for further reading. Do not assume that a foam application will correct existing roof defects.
03 / WARM-ROOF DESIGN
Putting insulation at rafter level changes the roof.
A warm loft can make sense for some roofs and conversions, but it should be designed as a roof system rather than chosen solely for its insulation product.
Moisture control
The complete roof build-up needs an appropriate strategy for vapour, air leakage and drying potential. Consider the roof underlay and its condition.
Existing insulation
Adding rafter insulation above an already insulated ceiling can change temperature and ventilation in the resulting void. Assess the combined arrangement.
Insulation continuity
Avoid gaps at rafters, eaves, dormers and service penetrations and use the correct approved details for the chosen system.
Maintenance & access
Think about later roof repairs, timber inspection, pipework, electrical services and any proposed use of the loft.
04 / COLD LOFT INSTALLATION
Fit between the joists, then cross-lay.
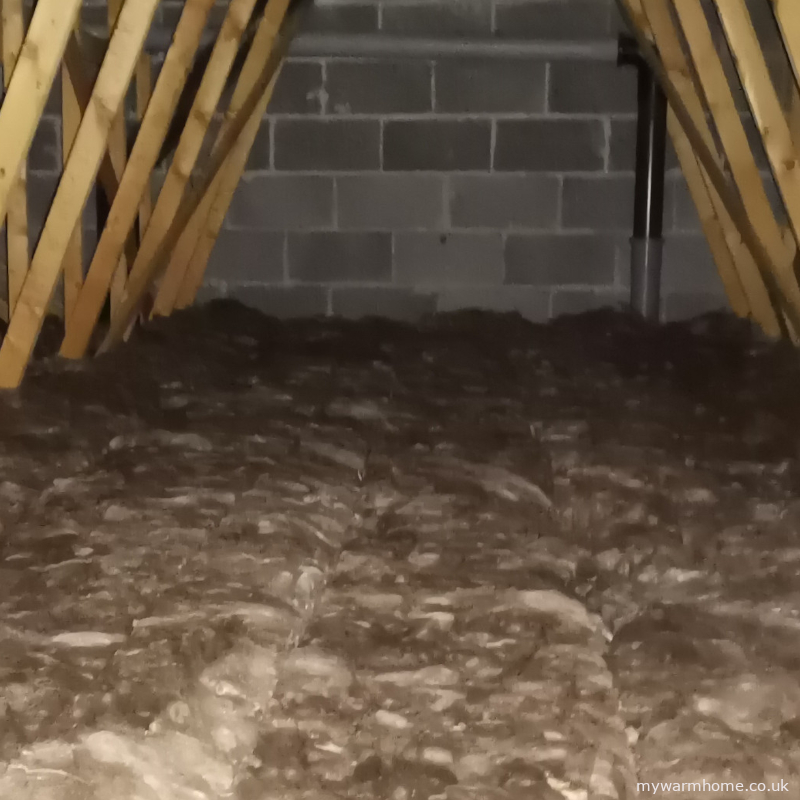
Rolled insulation is commonly fitted snugly between ceiling joists, with a second layer laid across the joists where required. Cross-laying helps cover repeated timber thermal bridges and maintain a continuous thermal layer.
Check the existing loft before starting: clear only what can safely be removed, preserve ventilation, ensure downlights and electrical services are appropriately detailed, and do not compress insulation beneath boards.
The specification should be driven by the required U-value, the product’s thermal conductivity and the complete ceiling build-up, with any existing insulation included where suitable.
For further explanation, see thermal values explained and the Knauf insulation U-value calculator.
04 / GOOD DETAILING
The weak points around the insulation layer.
01
Cross-lay the joists
Cover the joist line to reduce repeated thermal bridging and avoid gaps between rolls.
02
Seal and insulate the hatch
The access opening should not become a major air leakage or heat-loss point.
03
Raise storage boards
Use a suitable engineered raised deck or access walkway rather than compressing the insulation.
04
Protect services
Insulate vulnerable loft pipework and water tanks as needed, while maintaining electrical and flue safety.
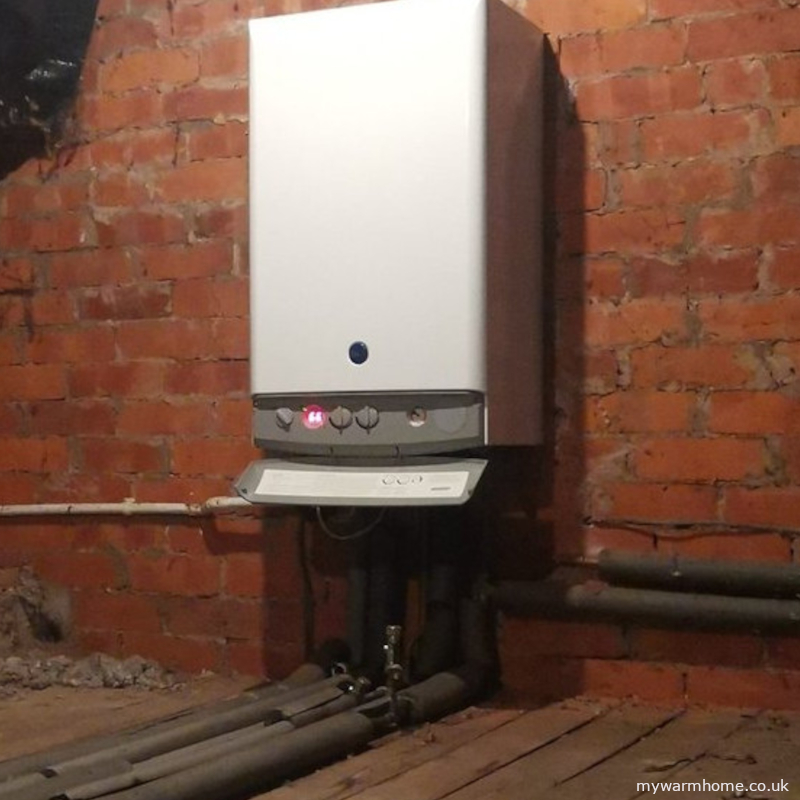
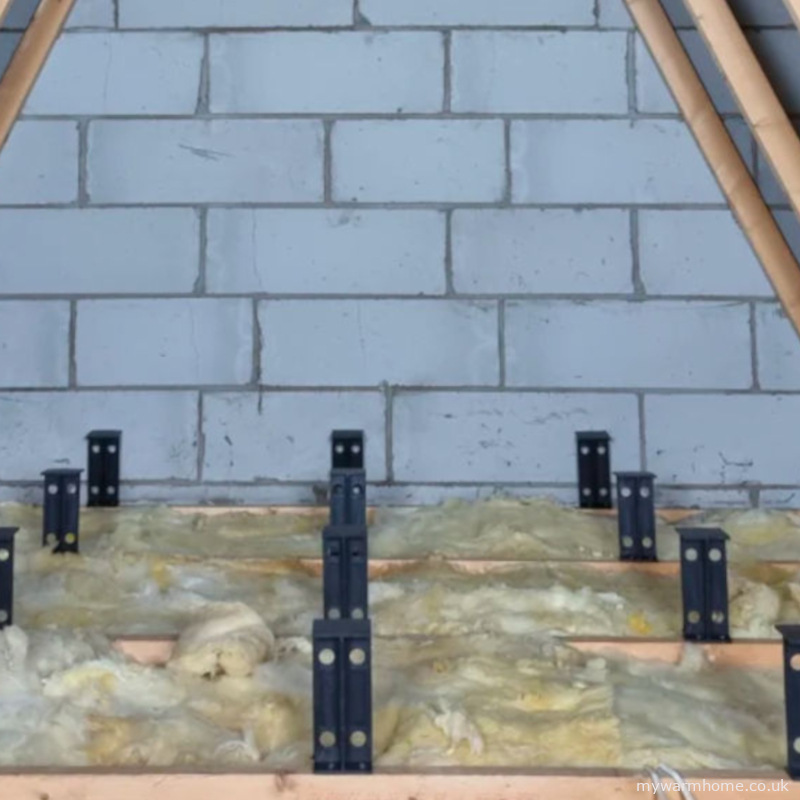
Access for maintenance matters. Keep safe routes to water tanks, boilers and solar equipment, and remember that a ceiling structure is not automatically designed to take storage loads.
04 / COMBUSTION SAFETY
Insulation and ventilation changes can affect open-flued appliances.
The source page highlights gas and open-flued appliance safety as part of the pre-installation survey, not a separate afterthought.
Combustion air
Open-flued gas and solid-fuel appliances depend on an adequate, unobstructed supply of combustion air. Changes to the building fabric or fans may affect that supply.
Spillage checks
Where relevant, a suitably qualified person should consider safe appliance operation and undertake necessary checks when ventilation or airtightness is altered.
Extract fan interaction
Mechanical extraction can create pressure differences. The effect on any open-flued appliance must be assessed even when the fan is in another room.
Keep flues safe
Do not move, disturb, surround or obstruct a flue as part of insulation work. Refer gas work to an appropriately registered Gas Safe engineer and solid-fuel work to a competent specialist.
SAFETY ILLUSTRATIONS
Know which appliance and installation you have.
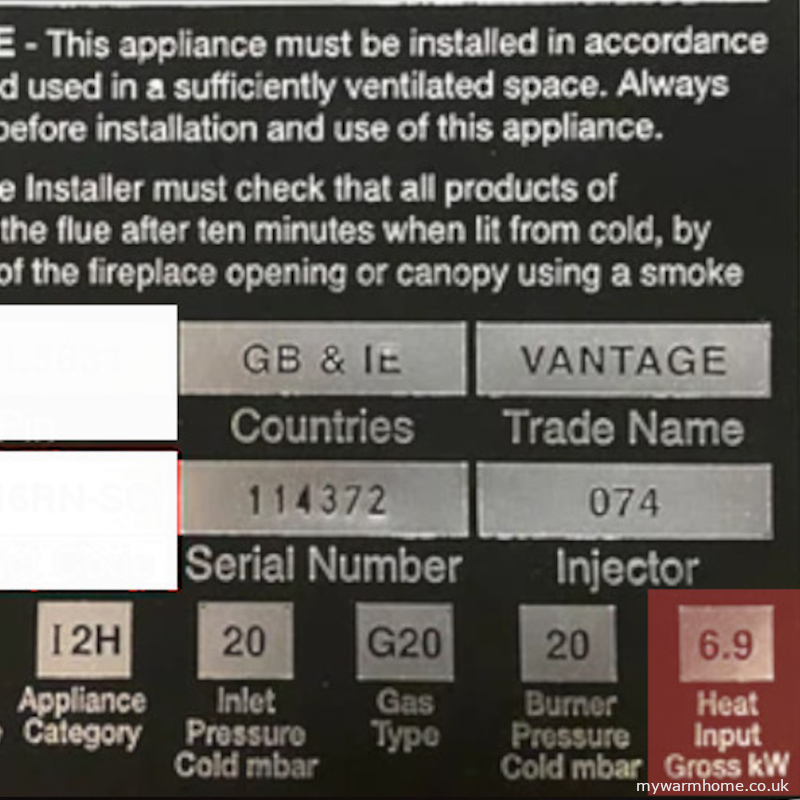
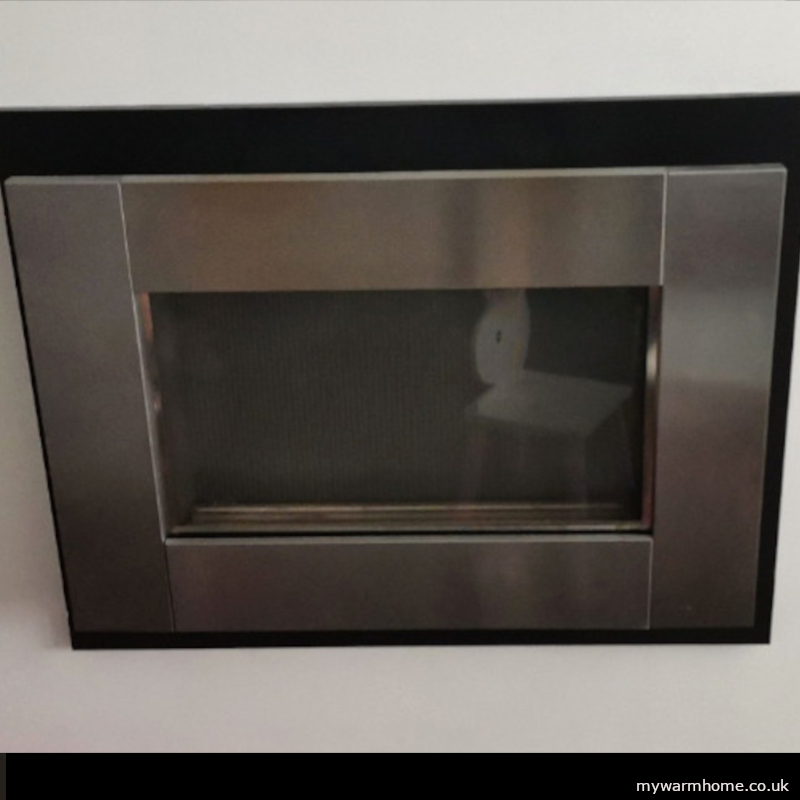
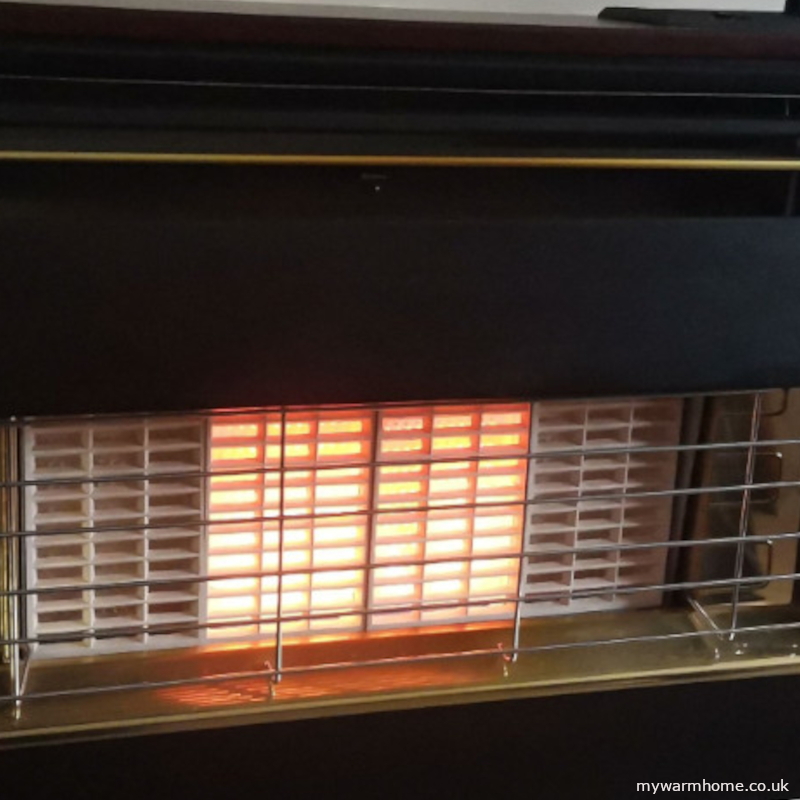
Photographs are illustrative. If you are unsure about a combustion appliance, its flue or ventilation needs, seek competent specialist advice before changing the building fabric.
COMPLIANCE & HANDOVER
Check the standard and the details that apply.
Installation must follow the applicable Building Regulations, relevant PAS requirements where the work is delivered through a retrofit scheme, and manufacturer instructions. The necessary specification varies with the roof, location and scope of work.
- Part L: energy-efficiency performance and insulation continuity.
- Part F and roof-space detailing: make sure the appropriate dwelling ventilation and designed roof-void ventilation are maintained.
- Part J: safe interaction with combustion appliances and flues.
- Part P and relevant electrical requirements: electrical work and safe treatment of cables and lighting.
- Installation evidence: product, thickness, coverage, photographs, warnings, labels and documentation required for the project or funding scheme.
Start with the official Approved Documents collection and MyWarmHome’s regulations guide; requirements and editions can vary by nation and project date.
1
continuous insulation strategy — not just extra material in the loft.
MY WARM HOME VIEW
A well-insulated loft still needs to be safe, dry and serviceable.
Effective loft insulation combines thermal continuity, ventilation, moisture control, electrical and combustion safety, safe access and practical maintenance. Treat the roof and home as one system.
BEFORE INSULATION WORK BEGINS
Survey the space. Check the services. Plan the whole detail.
Ask the installer how eaves ventilation, joists, lighting, the hatch, pipework and service access will be dealt with.