The light energy frees electrons, creating a Direct Current (DC) flow of electricity.
A photovoltaic system consists of PV cells, which are grouped into modules (solar panels) and arranged into arrays.
They contain cells, usually made of silicon, that release electrons when hit by sunlight, creating a flow of electricity. An inverter converts this power into the standard electricity used for appliances, helping lower energy bills
Solar PV basics.
Solar panels provide an eco-friendly and sustainable method for power generation, as they harness sunlight and produce no direct greenhouse gas emissions during use. They are utilized globally to lower electricity costs, reduce dependence on fossil fuels, and minimize the carbon footprint associated with energy production.
Over the past 20 years, solar power has seen significant advancements in both affordability and technology, including improved energy transfer and storage capabilities. For solar energy to be truly beneficial in the UK, it is essential to either store the generated energy using batteries or feed the excess power back into the grid through energy providers.The system gathers that heat, boosts it, and releases it indoors.
Sunlight (photons) hits the solar panel cells, which are made of special materials (semiconductors).
Different types of solar panels.
Solar PV (Photovoltaics).
This is the technology that converts sunlight directly into electricity using photovoltaic cells. These cells are typically made from semiconductor materials, such as silicon, which absorb photons from sunlight and release electrons. This flow of electrons generates direct current (DC) electricity, which can be converted to alternating current (AC) using an inverter for use in homes.
Solar PV systems can vary in scale from small residential rooftop installations to large solar farms. They are a key component of renewable energy strategies, helping to reduce reliance on fossil fuels and decrease greenhouse gas emissions.
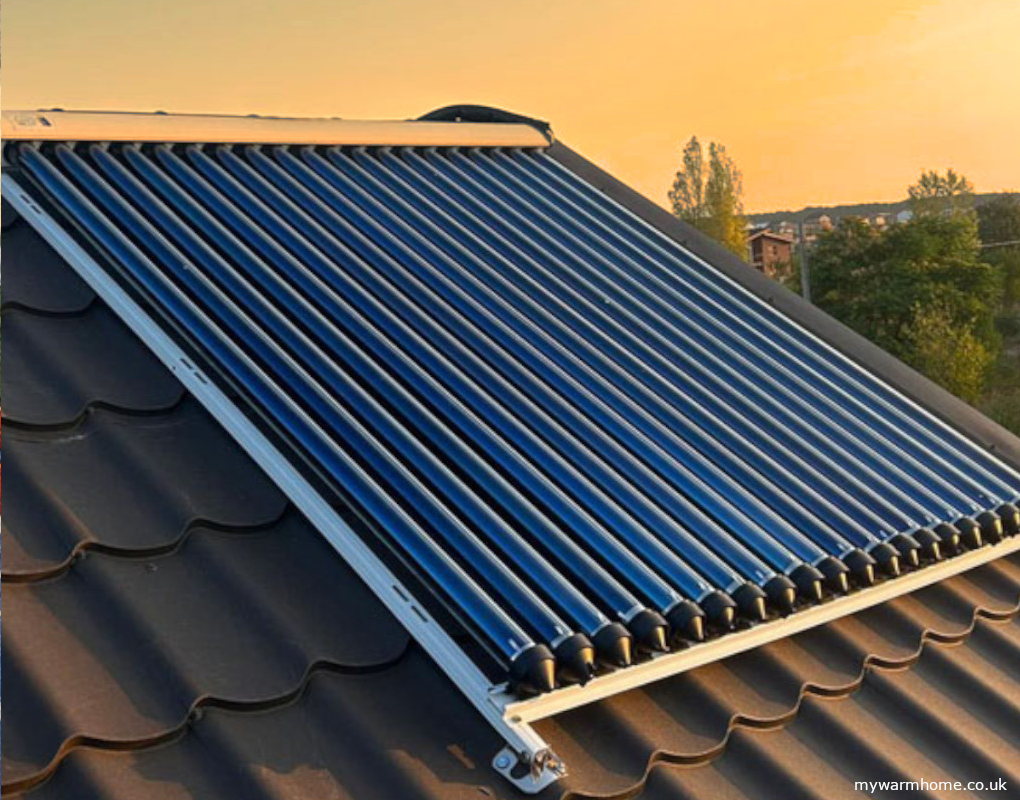
Solar thermal. This is the technology that harnesses sunlight to produce heat, which can be used directly for heating our water, it can be used commercially to generate steam for industry, but we are looking at domestic systems here.
Solar thermal technology is valued for its efficiency in directly using the sun’s energy for heating applications, contributing to lower energy bills and reduced reliance on conventional fuel sources.
The panels used either have a dark absorbing surface made from polymers or evacuated tubes which look like fluorescent tubes. The evacuated tubes are more efficient in cold climates but can overheat if too hot.
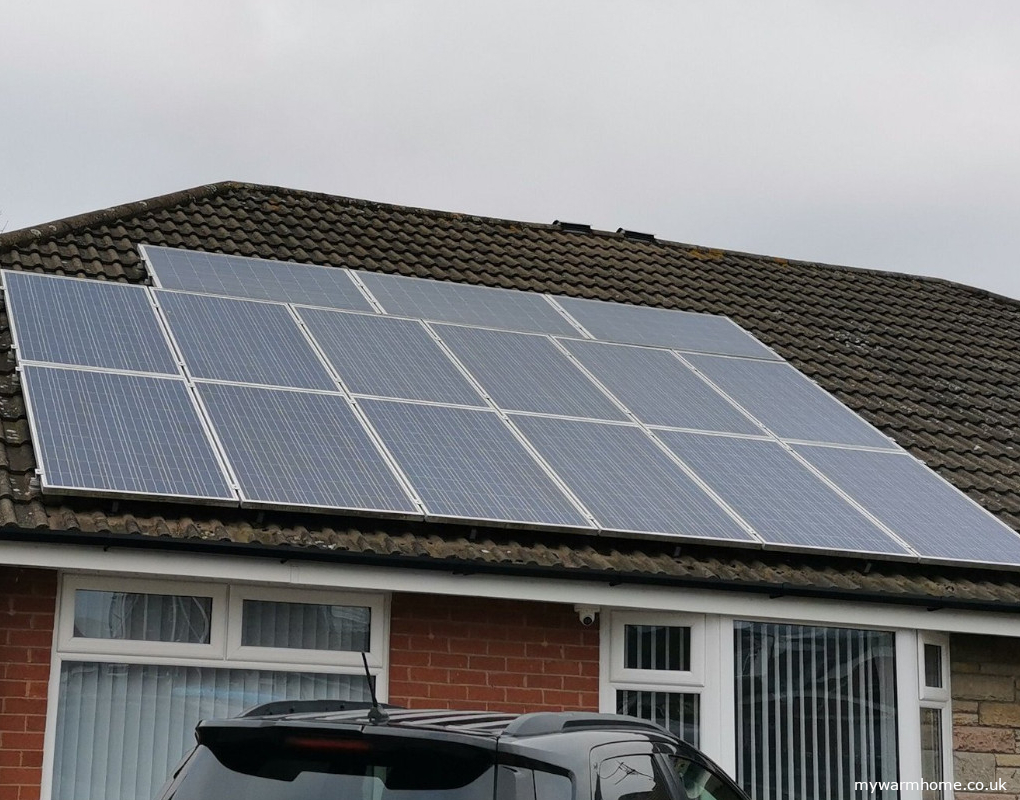
Monocrystalline (black) are more efficient, while Polycrystalline (blue) are often cheaper
Installation Guide.
For any renewable heating or solar project, whether funded privately or through a UK grant scheme, the current best practices, manufacturer’s instructions and relevant building regulations should be strictly adhered to.
If installed on a UK grant scheme then a quality assurance program that certifies small-scale renewable energy systems and installers need to be followed, currently this is supplied by MCS.
It is also advised to use MCS installers to mitigate any problems with planning and safety compliance.
Other companies like the IAA offer microgeneration guarantees too. Most of the time when applying for renewable funding the installation company usually has the mechanism to set up the funding and this should be explained from the start.
You should NOT have to pay anything upfront or post install unless extras are quoted and agreed.
These extras could be, for instance, extra panels, battery connected inverter’s, batteries and possibly EV chargers.
Get your installers to confirm the process of connecting to your grid supply, which is detailed below.
Currently, there are various funding streams, but are typically means tested.
Have a look at the funding area of the site for more information.
To achieve effective solar panel installation in line with best practices, MCS standards, and building regulations, please review the following installation and operation guidelines.
Pre-install.
Before connecting a solar power system, you must submit a DNO application to the relevant distribution network operator.
This ensures they can assess and manage the required *electricity capacity. The documentation needed depends on the system’s size, larger systems generally require more paperwork before installation.
For solar power systems, the standard threshold is 16 amps per phase, determined by the inverter’s AC output. If you’re unsure of the amp rating, consult the installation company’s electricians for guidance.
*Electrical capacity, measured in amps (amperage), is the maximum amount of electricity a circuit can handle, so the DNO needs to make sure the generated power can be pushed back down the cables safely!
“phase” refers to the distribution of electrical load within a circuit, with “single phase” meaning there’s only one live wire supplying power to a household. Most UK homes are single phase.
Systems with an AC output under 16 amps per phase (less than 3.68kw) can be registered with a G98 form, usually allowing immediate installation.
Systems exceeding 16 amps per phase (more than 3.68kw)are classified as large and require prior approval and a G99 form from the DNO before installation.
Informing your supplier.
If you’re trying to set up a Smart Export Guarantee with a supplier, they will require documentation like a DNO letter, they may also want a G98 or G99 approval and MCS certificate, They will require an export MPAN (they can usually request this from your DNO). Email your electricity supplier to inform them of the solar installation, give them the exact date of installation even if you have not received your MCS or other documentation. They will then confirm in return and hopefully guide you with the process.
What is an export MPAN?
An export Meter Point Administrator Number (MPAN) is an industry reference for a unique 12 or 13-digit reference number to identify where electricity is fed into the grid. It helps to ensure exported electricity is measured accurately and payments/credits owed are assigned to the correct account. This can take your supplier many weeks to retrieve from your DNO. This number is different from your standard MPAN 21-digit number on your bill. We have a section in the blog to explain more.
More details here.
Post-install.
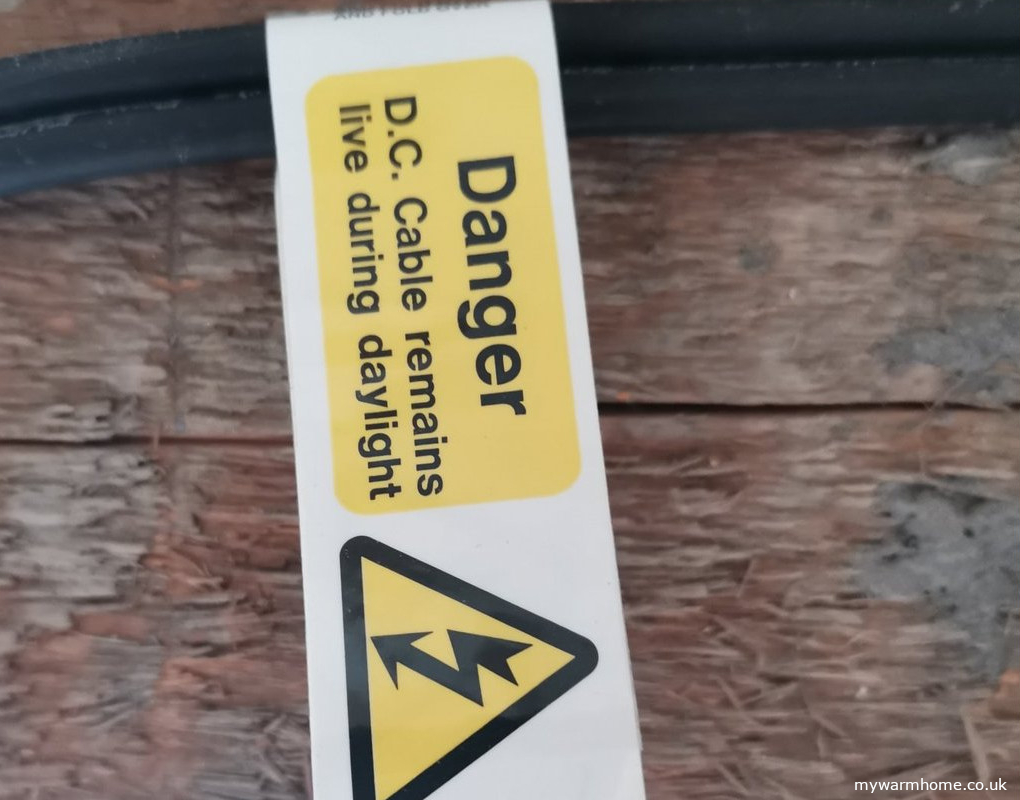
All DC and AC solar cables and isolators Should be labelled throughout the installation. This is a MCS guideline, which we know is not a regulation, but any good installer should complete all the tasks mentioned.
Ask the installers if your supplier is being informed. The installers may inform your supplier and pass on the necessary documentation but personally contact your energy supplier by email to confirm.
PV cables under the panels. These should be secured, so the wiring is not touching the roof. This is to prevent failure, snagging and build up of debris.
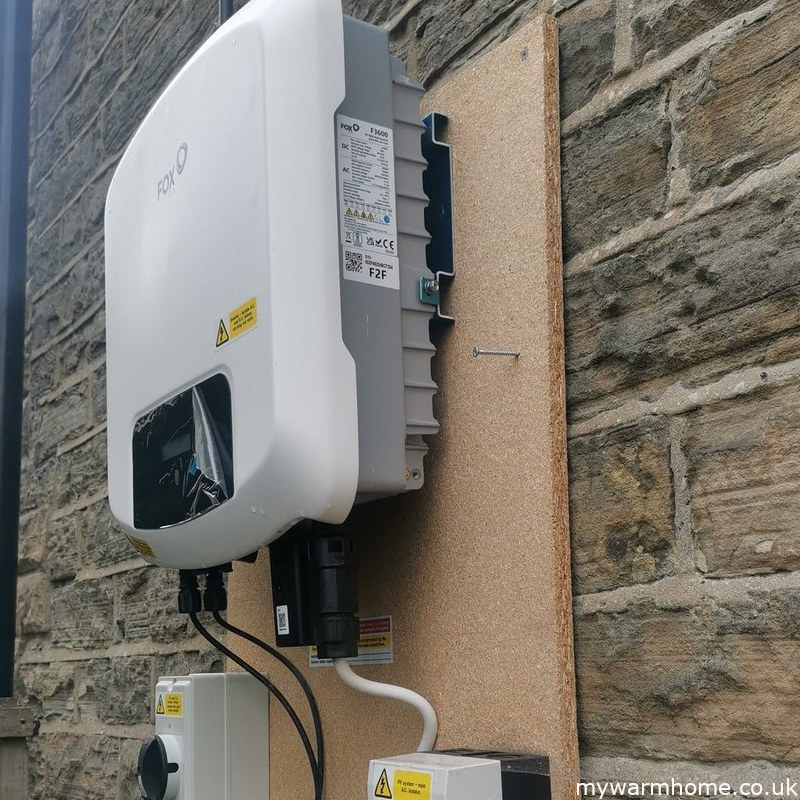
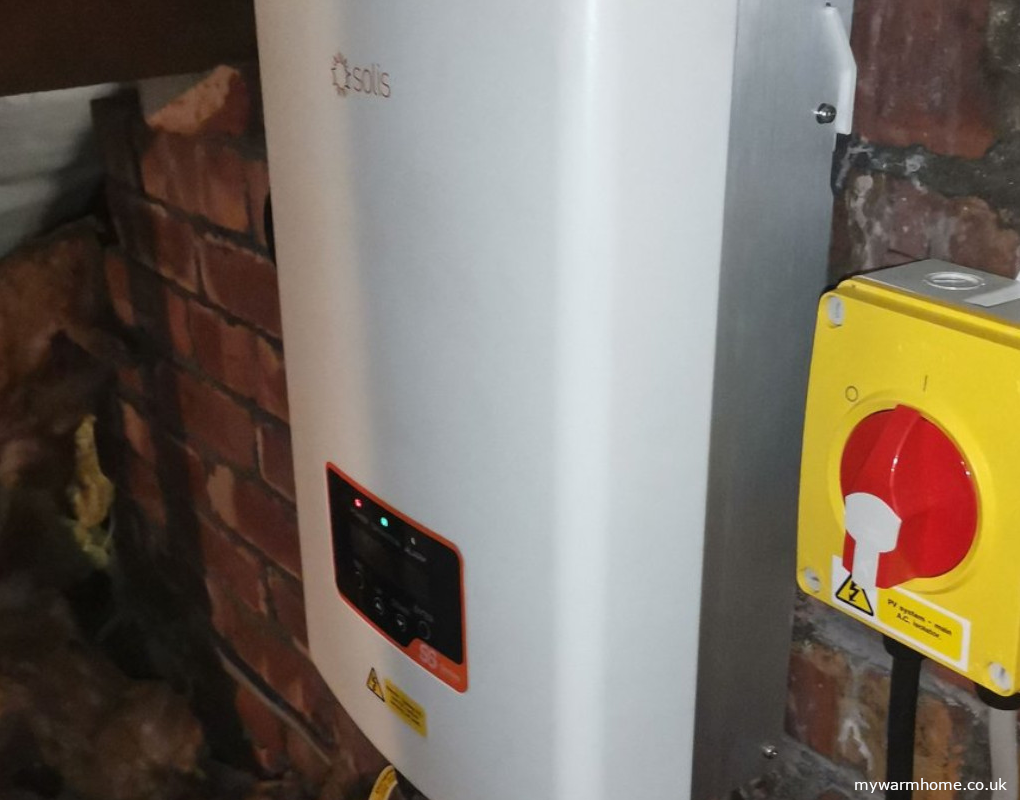
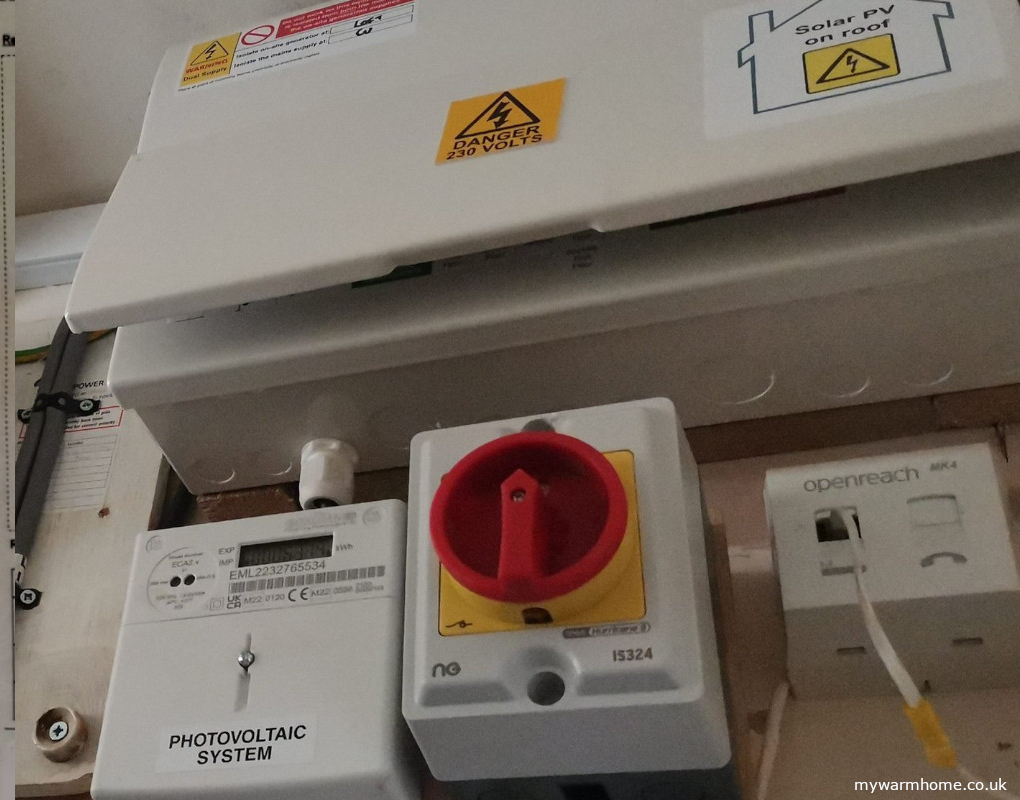
Safe lockable isolation at inverter. DC (black) and AC (red)
Correct fixing of inverter. Manufactures will state surface mount requirements (fireproof etc).
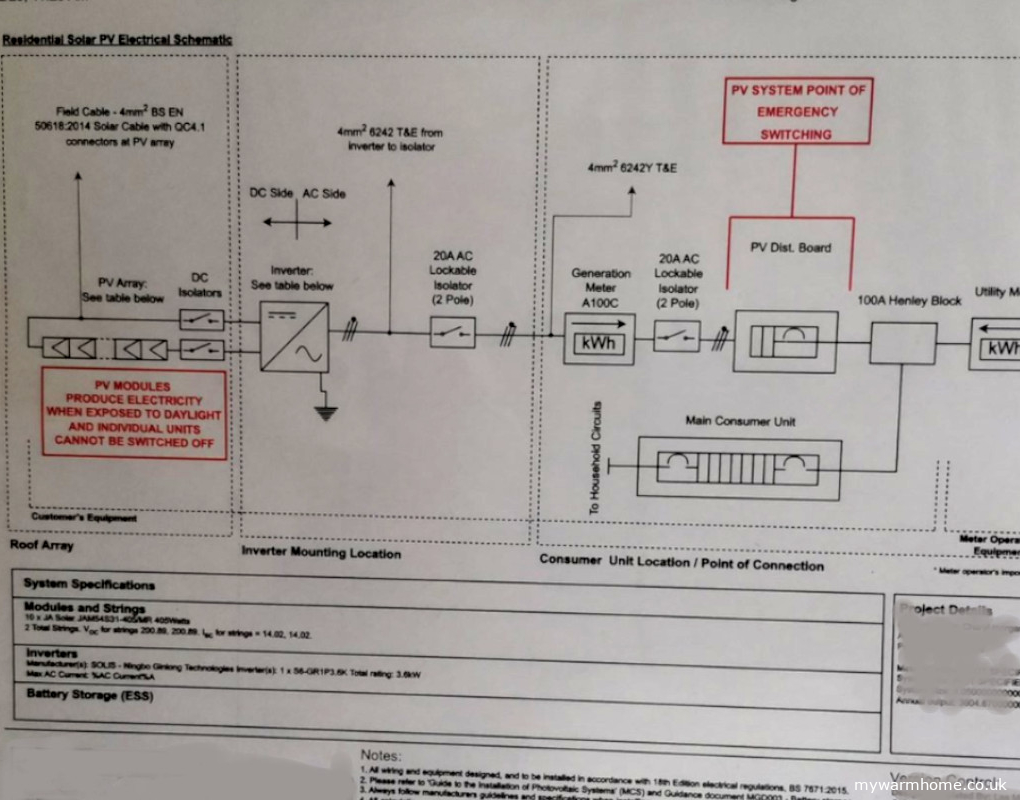
Clear diagrams of system to be placed near inverter (schematic diagram). This shows the setup of the system for maintenance and electrical circuits.
Solar on roof label to be close to main fuse. This is mainly to inform emergency services that DC exists on the roof.
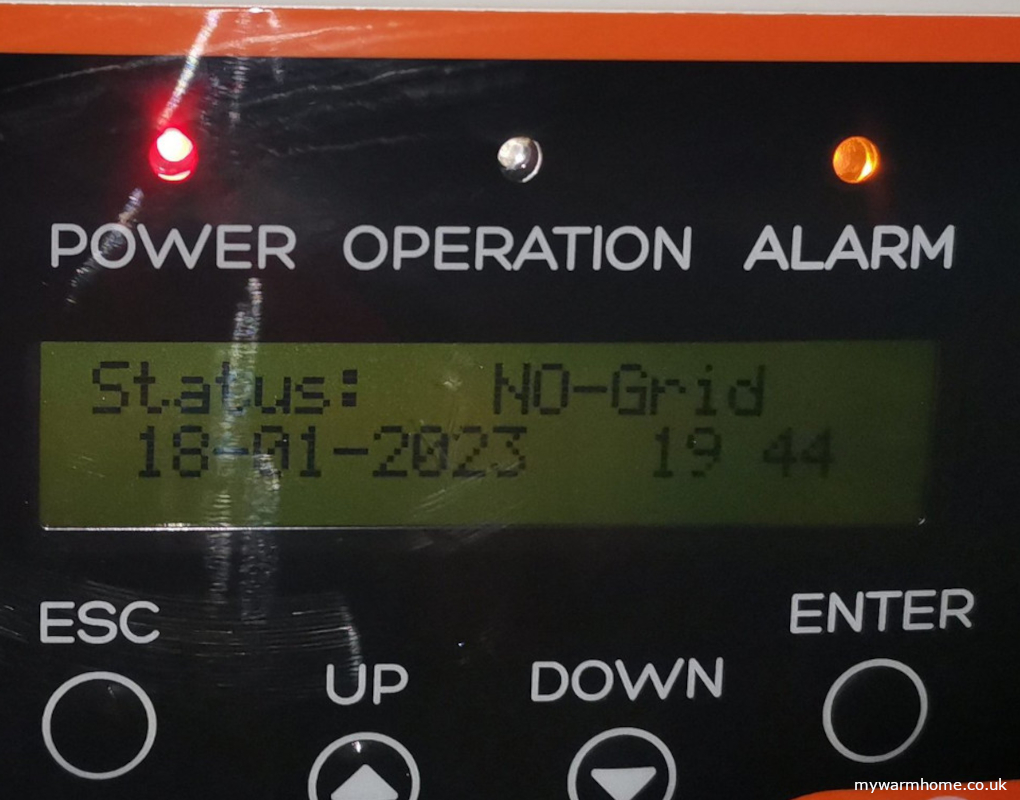
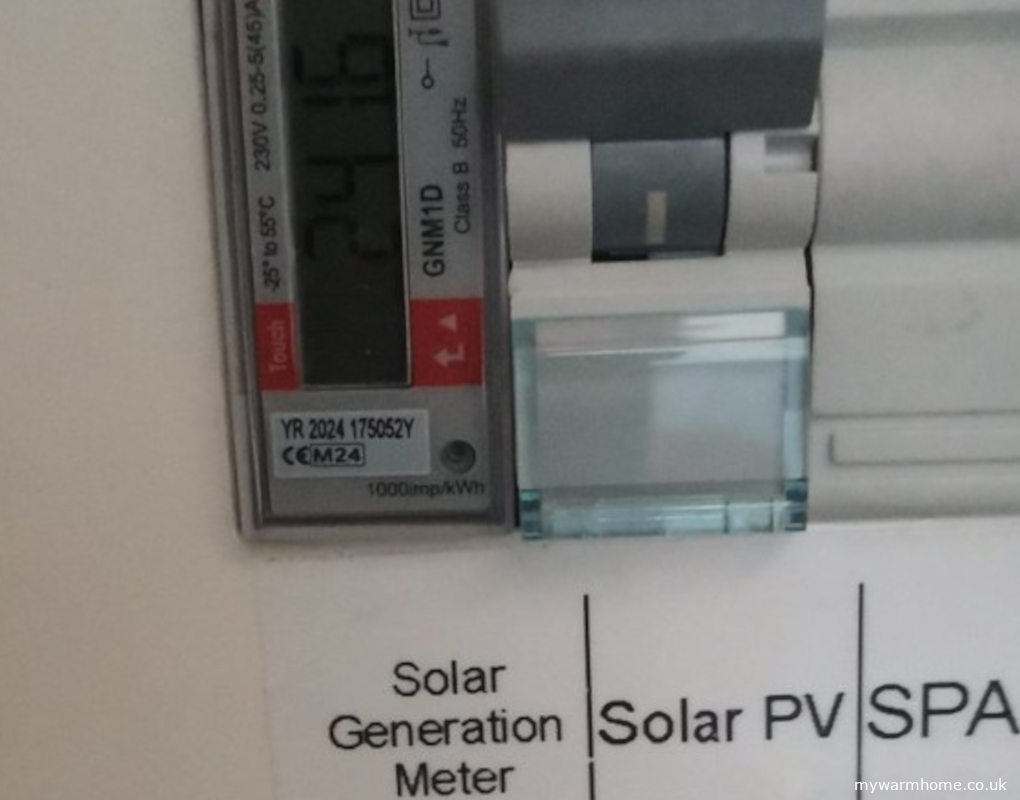
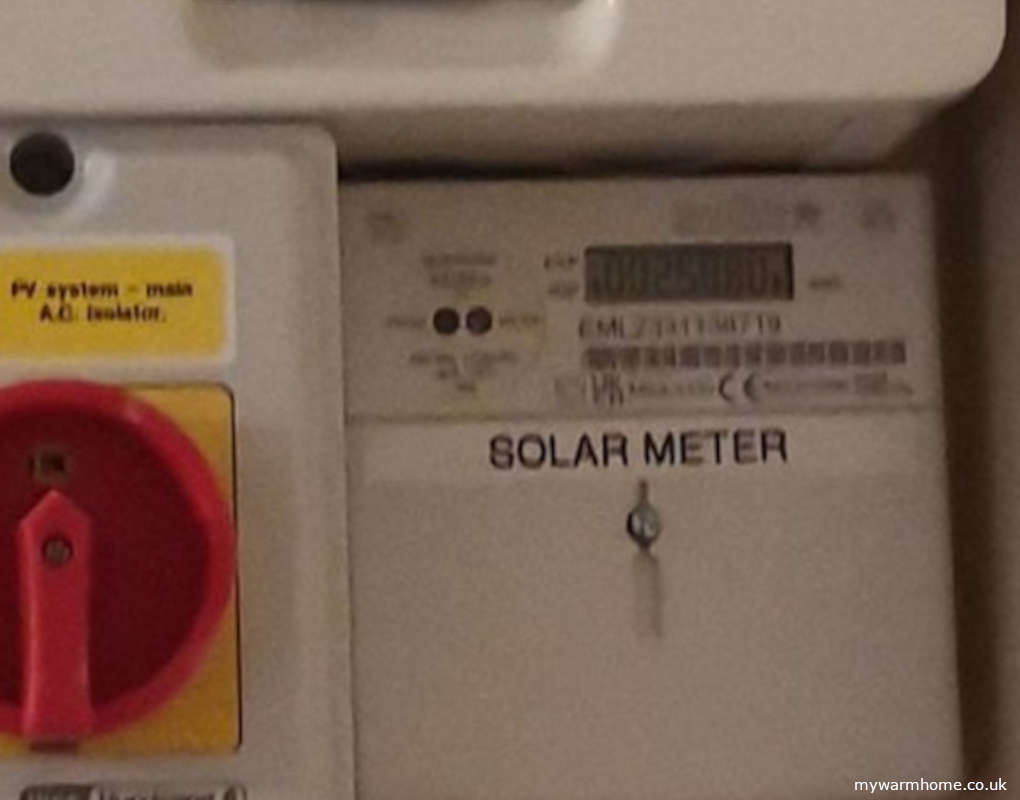
Monitor meter. Should be installed in a location for ease of access and allow the occupier to be able to monitor the system to check for generation and faults (can be installed into consumer unit). The generation meter light should be blinking in the daylight, if not could be failure, check for warning on inverter. Some inverters are remotely monitored for failure, this should be explained and monitoring contact information left on site.
Check that your meter is suitable for selling on excess energy. This usually has to be a smart meter and your energy supplier can guide you.
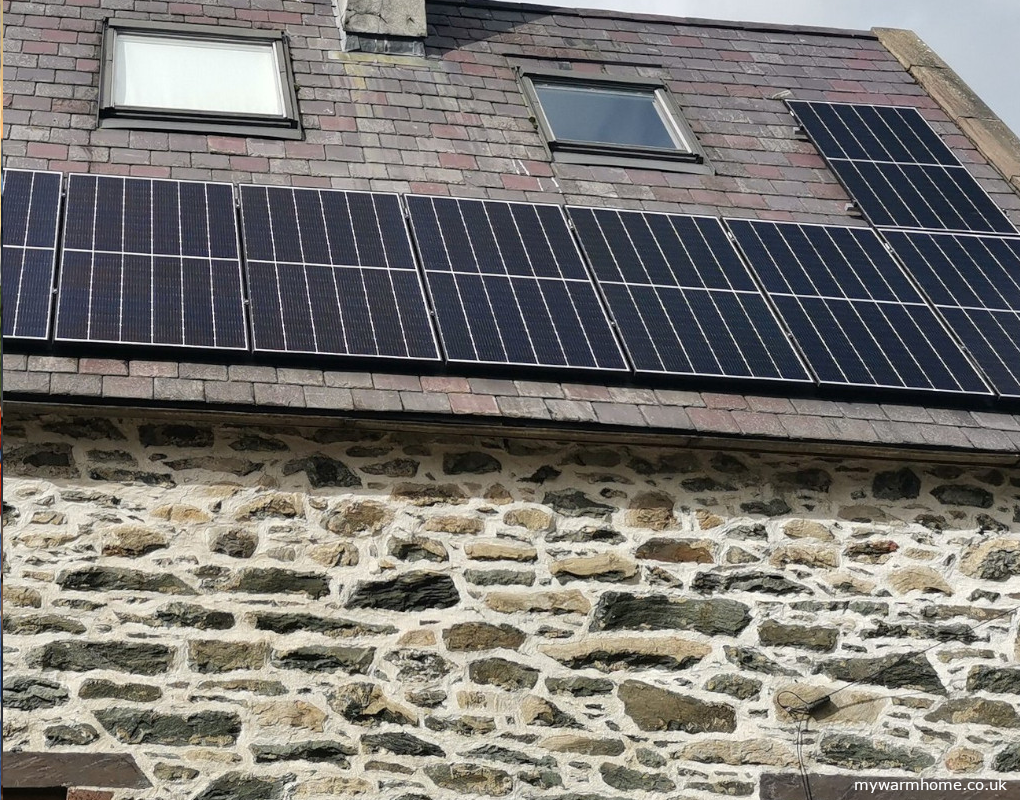
Panel position. Solar panels should be installed to optimize daylight and eliminate shading, this is typically at a 35° angle facing south. Panels should not extend more than 200 mm from the roof surface and be minimum 400mm from the edge to prevent uplift, latest regulations, MCS guidance and manufacturer installation information should be followed. Flat roofs and pitched roofs have different installation techniques and parameters.
Solar wizard, a good place to start to check orientation.
Panel Type. Ask what configuration panels are.
They could be in series or parallel.
Protection. Panels may need to be protected from nesting birds or vermin.
Labels. Cables should be labelled with DC warnings, and this should ideally be visible on each internal and external run.
All meters and isolation switches should be labelled.
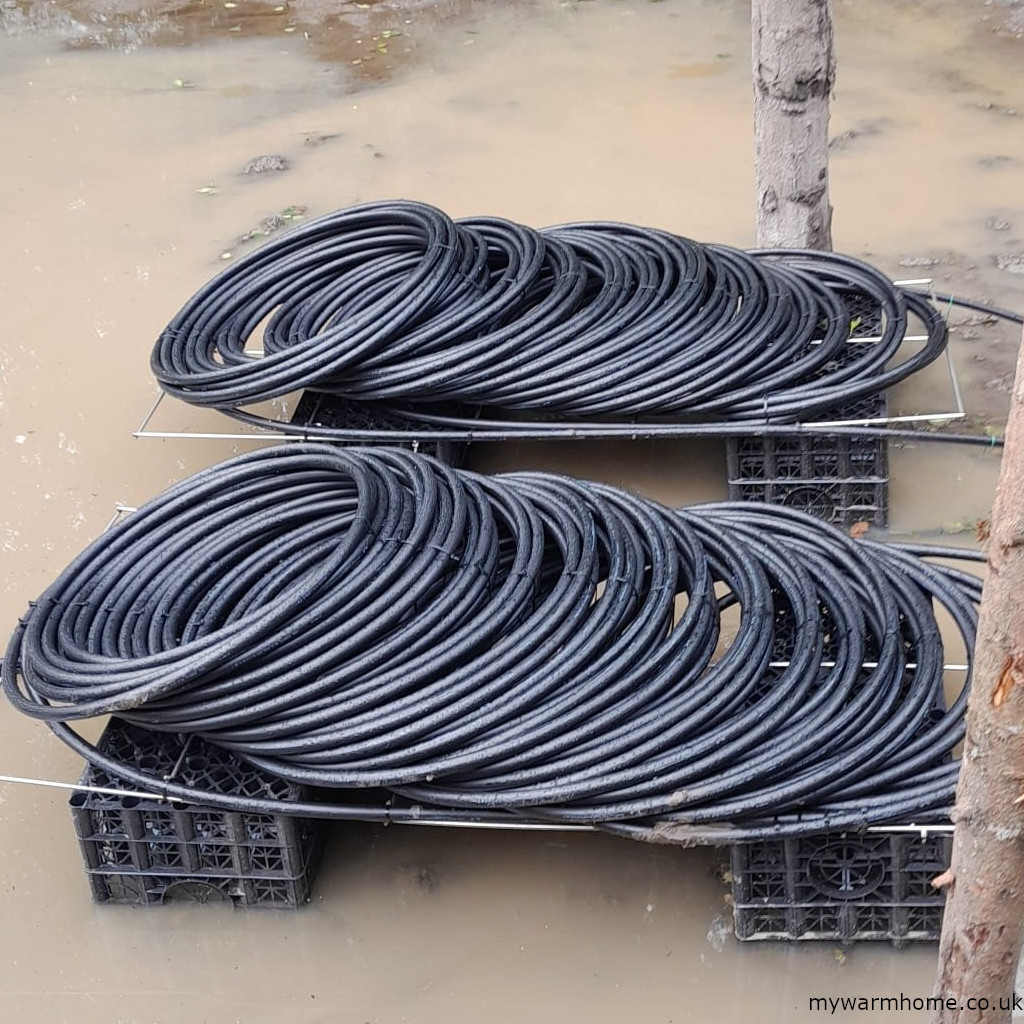
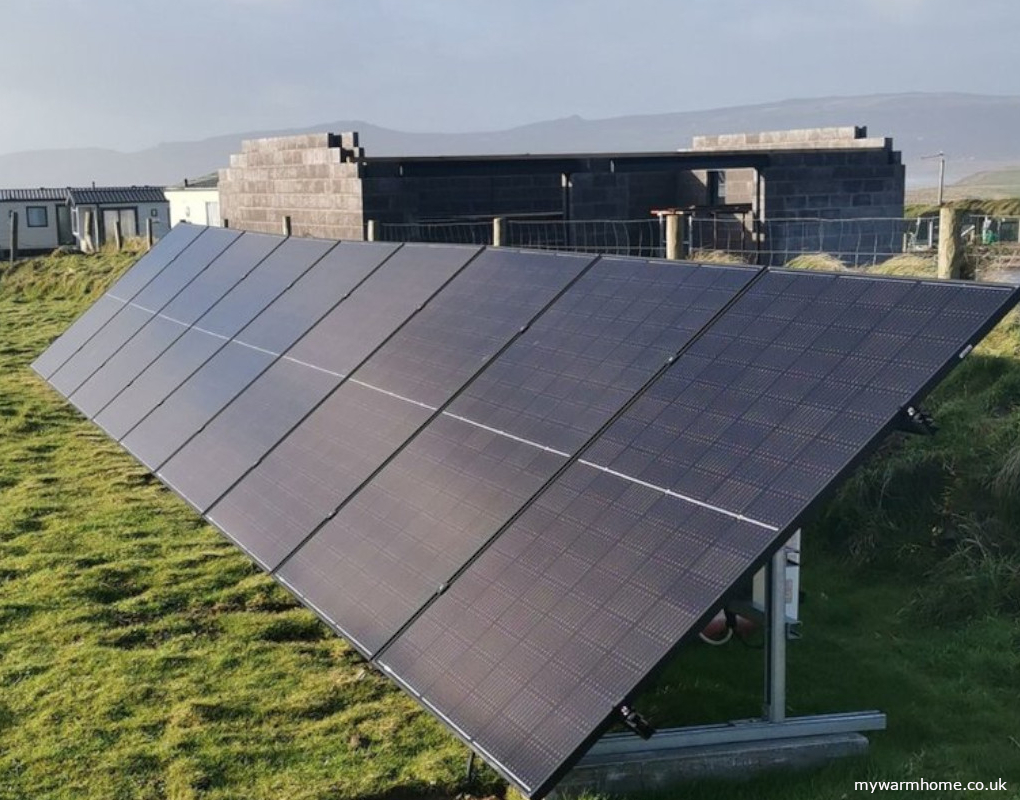
Ground Panels. If panels are ground mounted, then cables to inverters should be safely and securely routed and labelled. Typically, in ground trenches at a minimum 500 mm. Ground mounted panels should be secured to prevent wind lift. Weighted and secured.
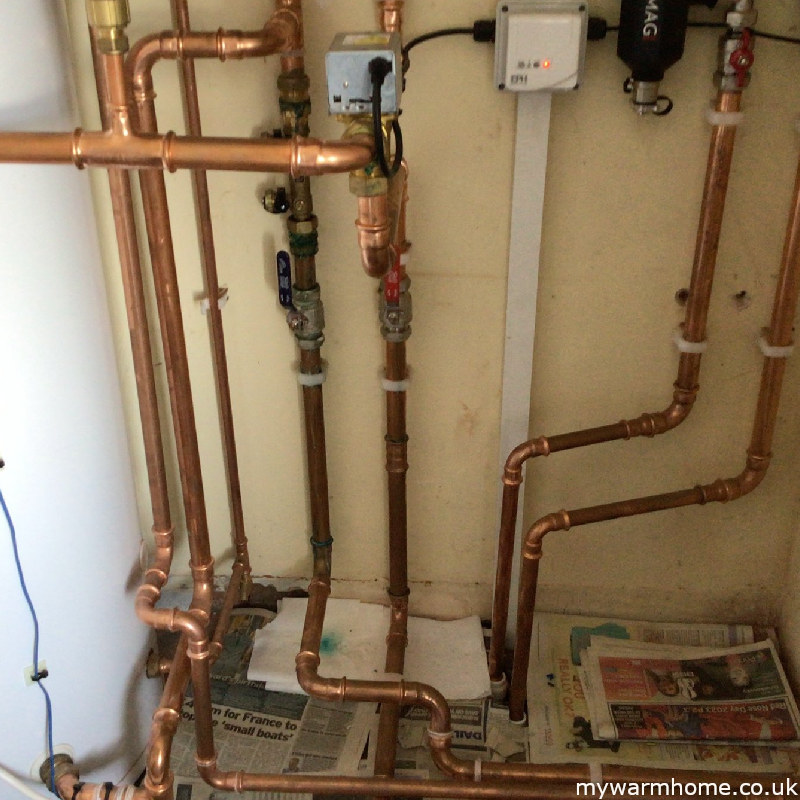
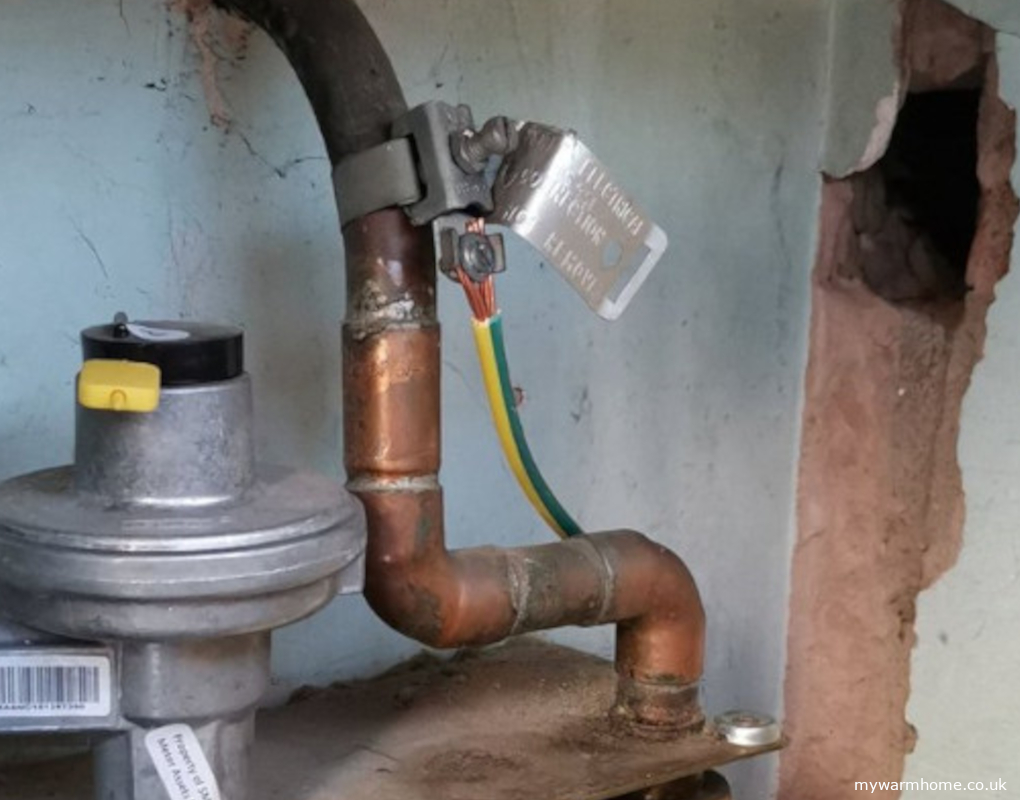
Earth wires (bonding). Should be fitted to gas meters and water stopcocks. To prevent any electrical current moving to uninsulated pipework in case of failure or damage to the system.
Planning permission. Typically, not required for domestic solar panel installations. However, planning permission may be required for listed buildings and conservation areas. If using an MCS registered installer, this should be verified for you.
Series or Parallel.
Series connection.
- Increases voltage, but keeps amperage the same
- Suitable for high-voltage applications
- Optimal output at the beginning and end of the day
- Easier to work on, and requires less expensive wire
- Sensitive to shading
- A disruption in a series connection affects the entire system
Parallel connection.
- Increases amperage, but keeps voltage the same
- Suitable for systems with high current requirements
- Better shading tolerance
- Panels continue to work independently of each other
- May require larger cables and additional equipment
- May increase upfront costs for materials and installation


Batteries.
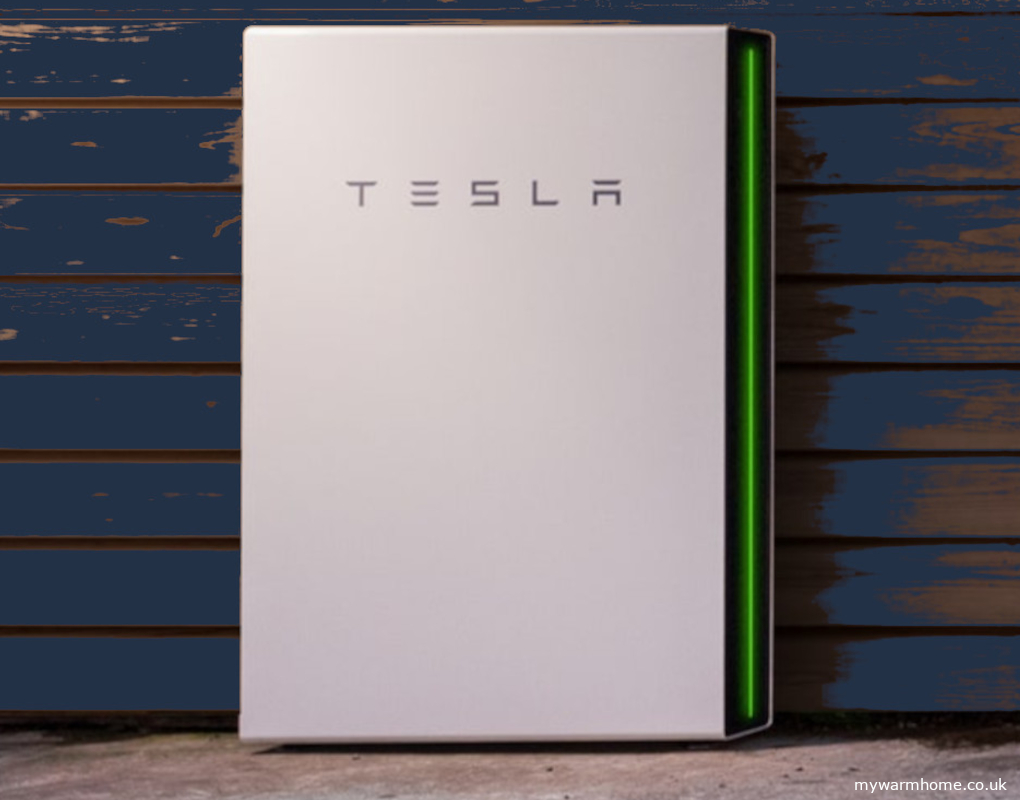
Solar batteries store the extra electricity generated by solar panels, much like how car batteries hold the charge produced by alternators. These batteries allow homeowners to keep surplus energy for later use, increasing energy independence and reliability. They can power household appliances and charge electric vehicles, providing a convenient and sustainable energy solution. Batteries come in different sizes and make-ups. The most popular are lithium-ion, which uses lithium mined from countries like Argentina and Brazil. These batteries have a longer lifespan, store more power in a smaller space and are very efficient.

Lead-acid batteries can be used, but due to size and poor efficiency, we don’t really see them now on UK systems.
A new kid on the block is the saltwater batteries, which are an eco-friendly option but have lower power density compared to chemical batteries.
Benefits.
When your solar panels produce more electricity than your home or building needs, the excess energy flows into the solar battery instead of being sent back to the grid. This stored energy can be drawn upon when the panels aren’t generating enough power. While the initial cost of solar batteries can be high, they can offer long-term savings by reducing the need to buy electricity from the grid, making them a worthwhile investment if within budget.
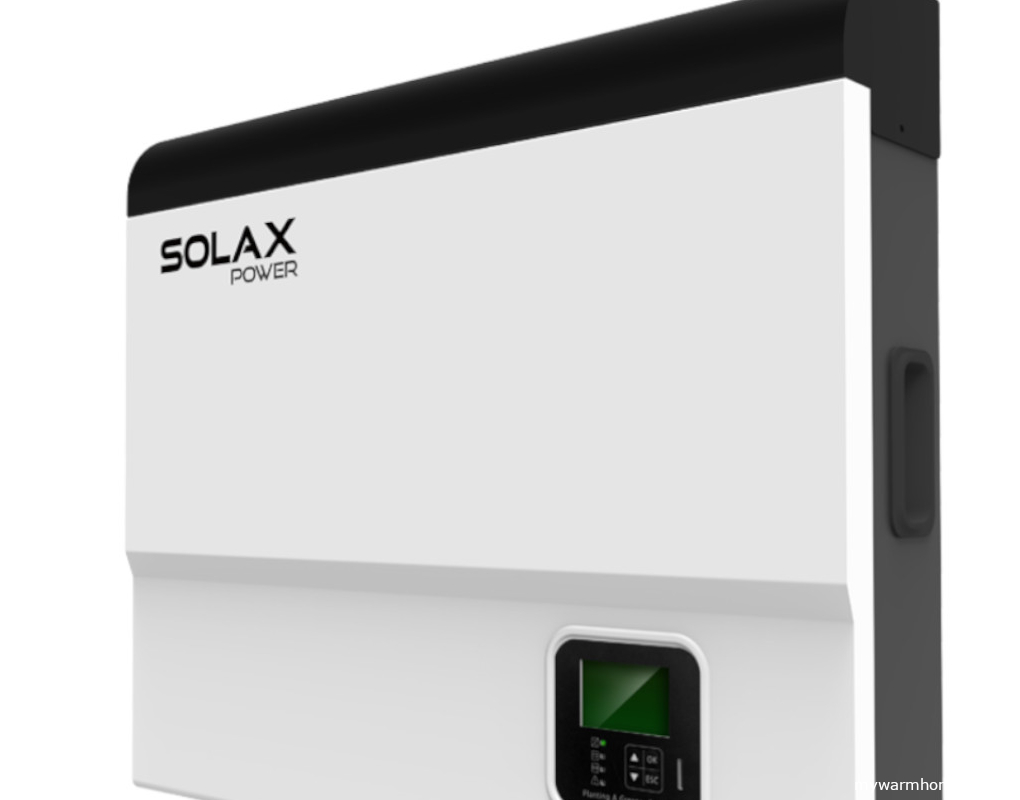
Solar battery systems are usually paired with hybrid inverters, which manage the flow of energy between the solar panels, batteries, and the grid. While initially more costly, they offer significant long-term savings and resilience, particularly valuable in areas prone to outages or with fluctuating energy cost.
Under the new P63100 standard regarding battery location, the basic premise is that the best place for storage batteries is outside the dwellings and away from habitable rooms. Where it is not practicable to locate batteries outdoors, some basic requirements are provided in P63100.
Batteries shall not be installed in any of the following locations:
- rooms in which persons are intended to sleep
- routes used as a means of escape that are not defined as protected escape routes including landings, staircases, and corridors
- corridors, shafts, stairs, or lobbies or protected escape routes
- firefighting lobbies or staircases
- storage cupboards, enclosures, or spaces opening into rooms which persons are intended to sleep;
- outdoors within 1m of escape routes, doors, windows, or ventilation ports
- voids, roof spaces or lofts
- within 2m of stored flammable materials and fuel storage tanks or cylinders; and
- cellars or basements that have no access to the outside of the building
Any battery storage in a place that is visited infrequently, then a fire alarm shall be installed to satisfy current regulations or standards.
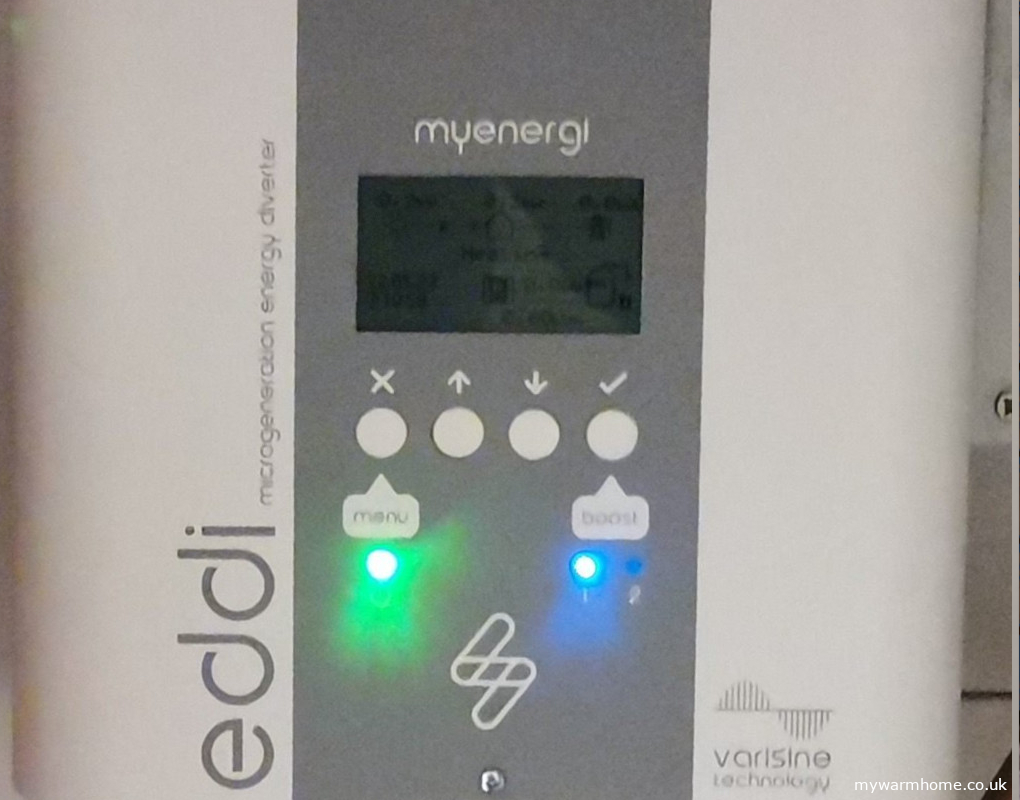
Power diverters.
A power diverter is a device used in solar energy systems to redirect surplus electricity generated by solar panels to power specific appliances in your home, rather than sending it back to the grid. This allows you use of the solar power you generate by directing it to energy-intensive devices.
How it works.
When your solar panels produce more electricity than your home is currently using, the power diverter detects this excess energy and automatically redirects it to a designated appliance (most commonly an immersion heater for hot water).
This prevents surplus energy from being exported to the grid, where compensation rates can be lower than the cost of grid electricity. Power diverters are usually affordable and easy to install compared to batteries, making them a popular choice for homeowners who want to improve their solar energy efficiency without a large upfront investment like batteries.
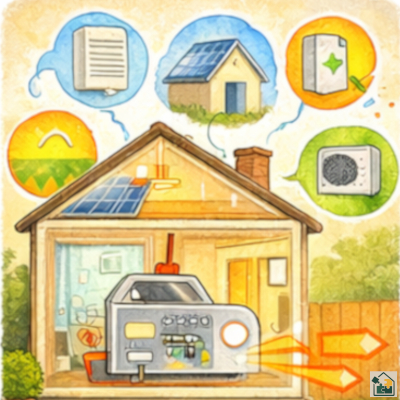
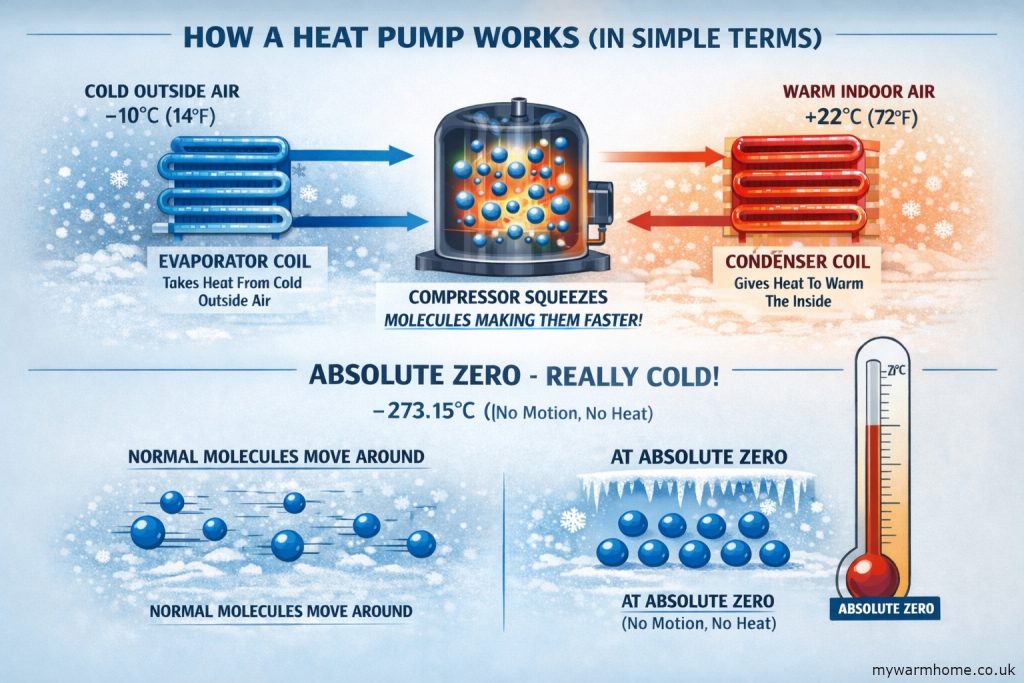
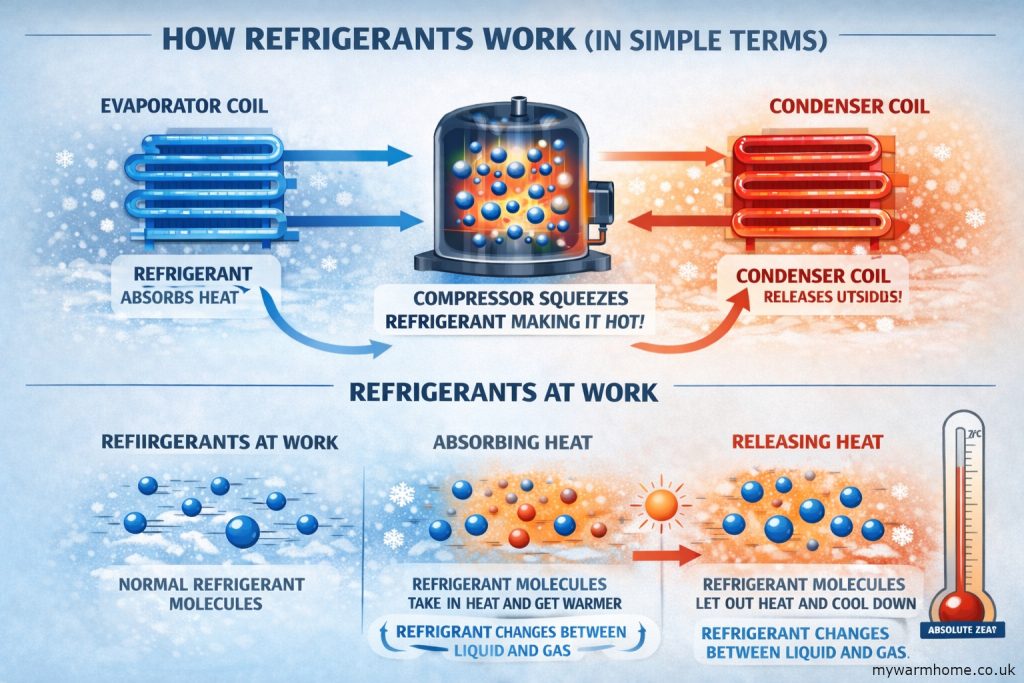
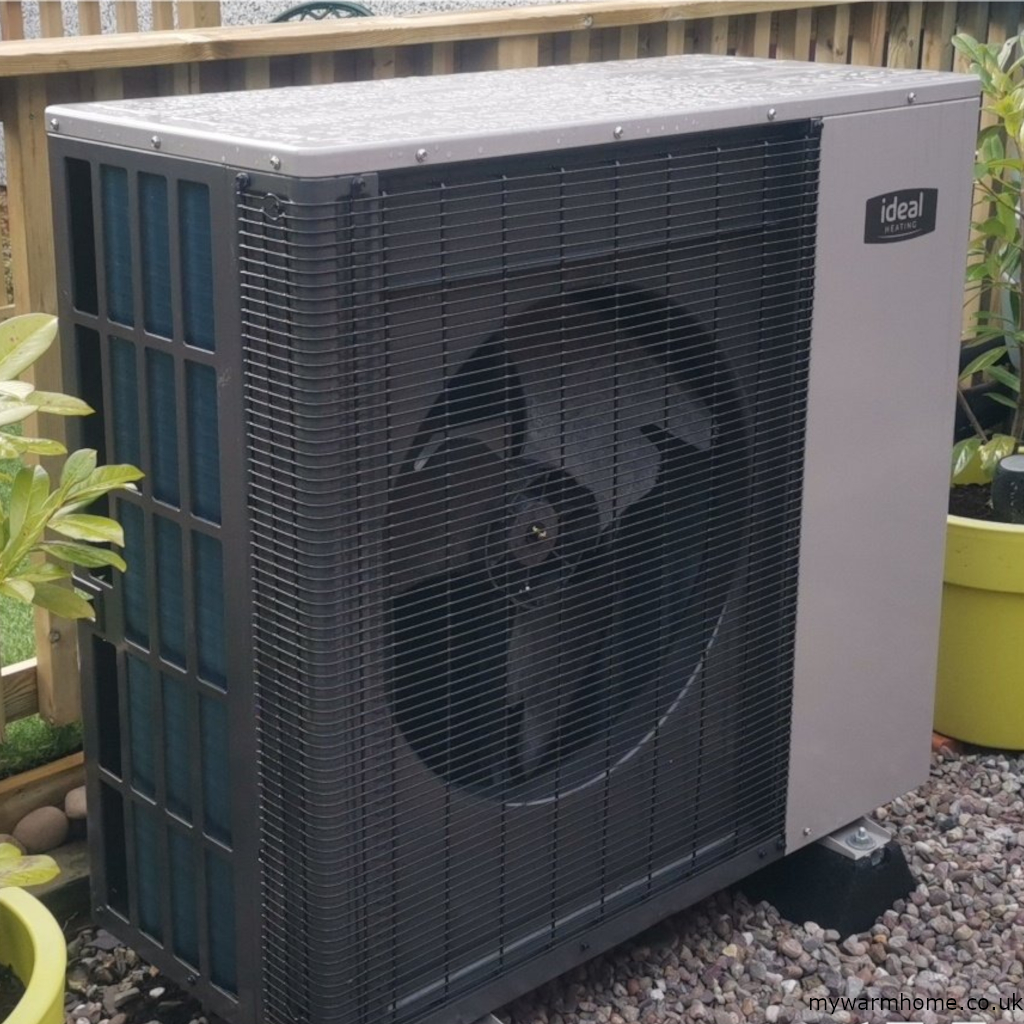
- Heat is collected from outside (air, ground, or water).
- That heat is compressed to raise its temperature.
- The warmed heat is delivered to radiators, underfloor heating, blower units, or hot water.
- The cycle repeats, quietly and continuously.
Electrical certificates.
The two types of electrical certificates you will come across as a customer who is having any electrical work as part of installing EEM’s (energy efficient measures)
- Electrical Installation.
- Minor Works Certificate.
Electrical Installation Certificate.
An electrical installation certificate is the type of certificate a customer receives after an electrician has installed one or more new circuits. Other examples include a complete rewire, a replacement consumer unit or an additional consumer unit. Generally, any time electrical work is done at the consumer unit, a new installation certificate will be issued.
Minor Works Certificate.
A minor works certificate is issued after an electrician has made an alteration to an existing circuit. Minor works certificates are often used to certify work such as adding additional sockets to an existing circuit or increasing the number of light fittings in a room. It can also be where a fused spur has been installed for an appliance or boiler connection.
Click here for more on regulations.
Health and safety.
You may need specialist advice from tradespeople and professionals regarding things like,
Nesting. Bees, wasps, bats.
Vermin. Rats, mice, squirrels
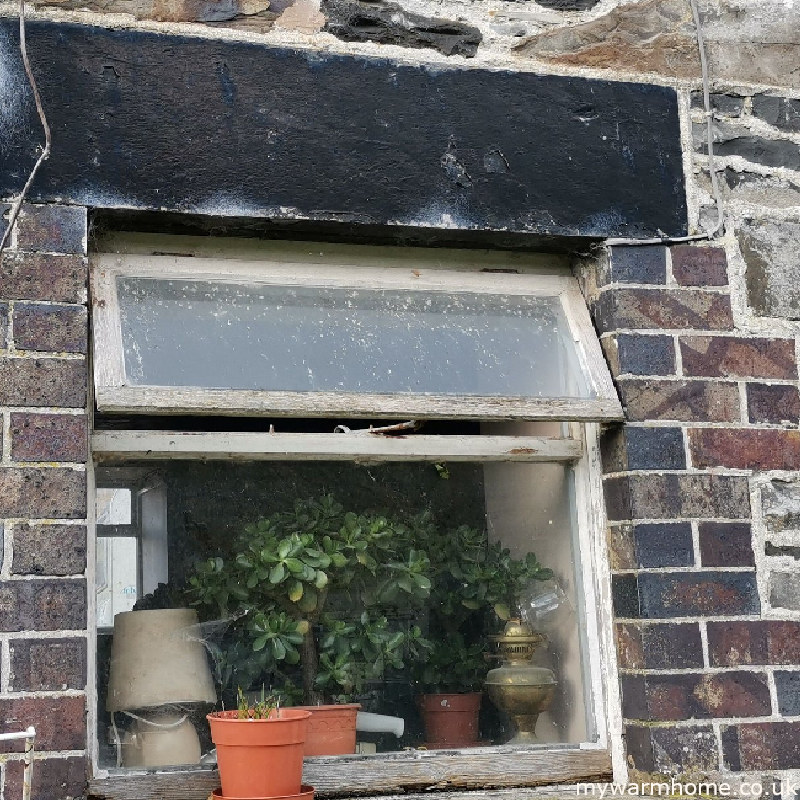
Asbestos. Flues, guttering, facia boards etc.
If squirrels, rats, or pigeons etc have the potential to nest or shelter under panels then protection will be required. Not only can they damage the panels, but they also tend to gnaw and pull on cables.
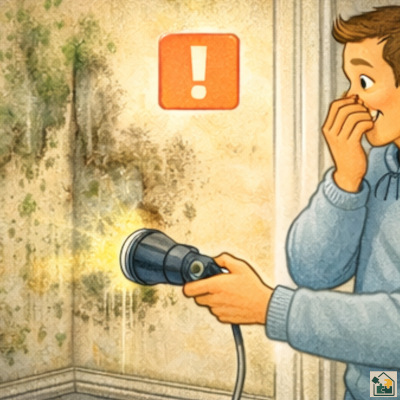
Some older houses may contain asbestos, which only a trained eye can recognise. Never disturb anything you’re unsure about. The health and safety section has more details.
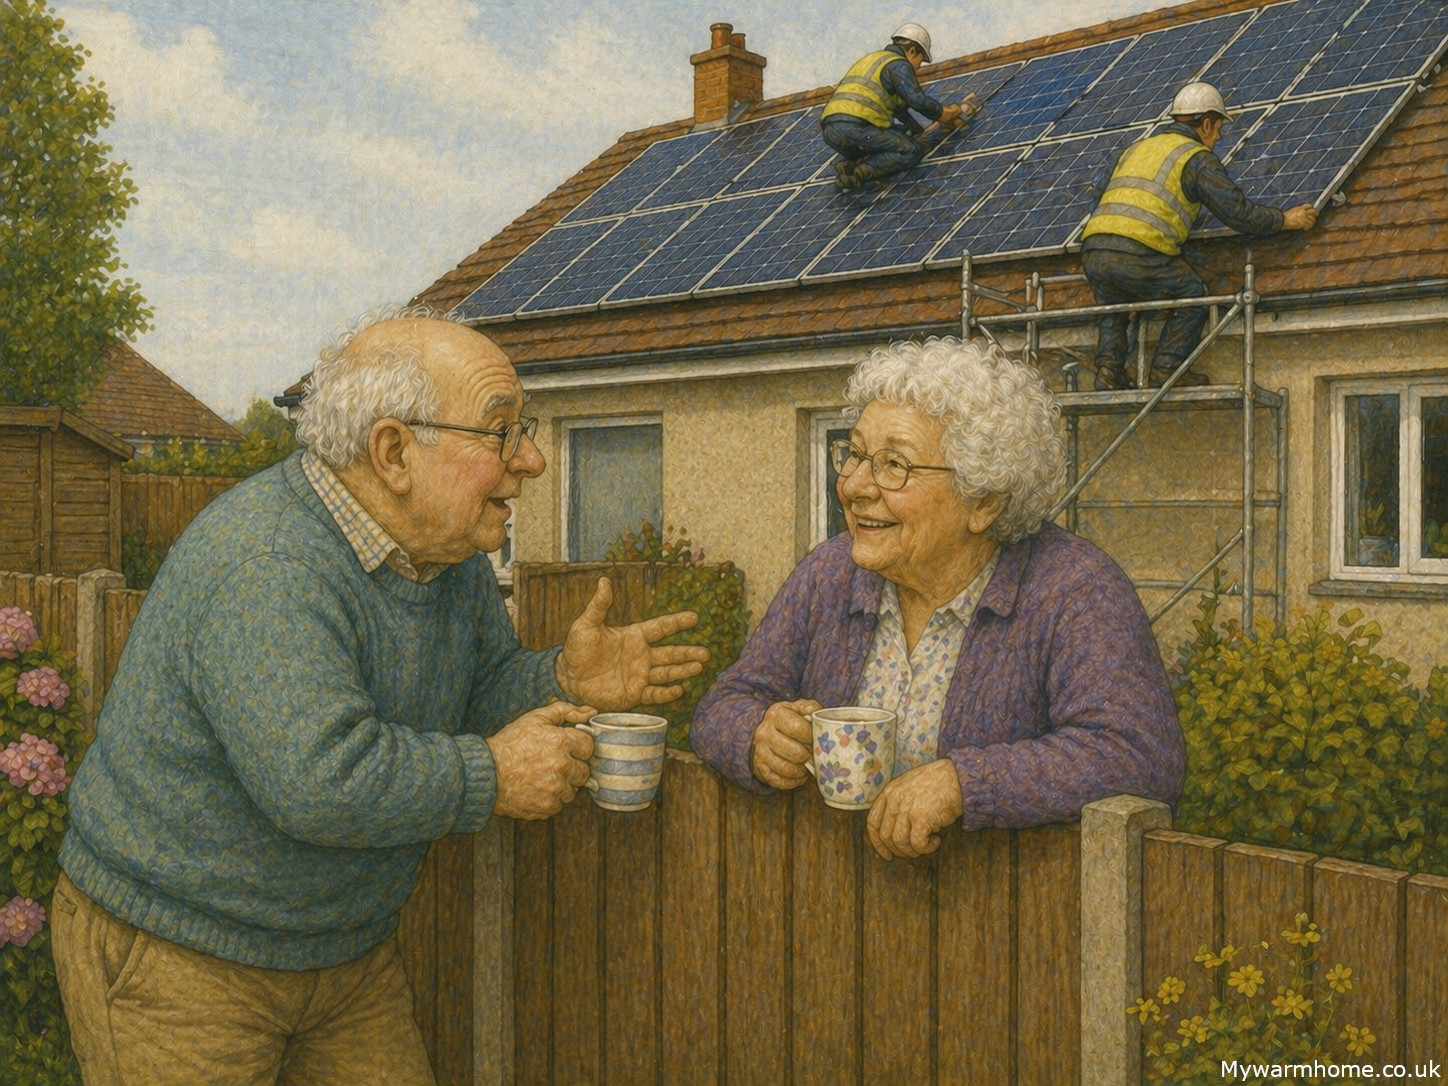
Your property will have ladders and possibly scaffolding during installation of solar panels so it’s crucial for safety guidelines to be in place, warning signs, pavement ramps etc. Contractors should always explain the dangers and inform you of any changes.
If you have close neighbours, then permissions may be needed for access and also approval for works in regard to noise and nuisance during installation (always polite anyway). Gas appliances and ventilation requirements should be carefully considered during the work, especially vertical flues and tile vents for loft ventilation.